5” Black and White CRT
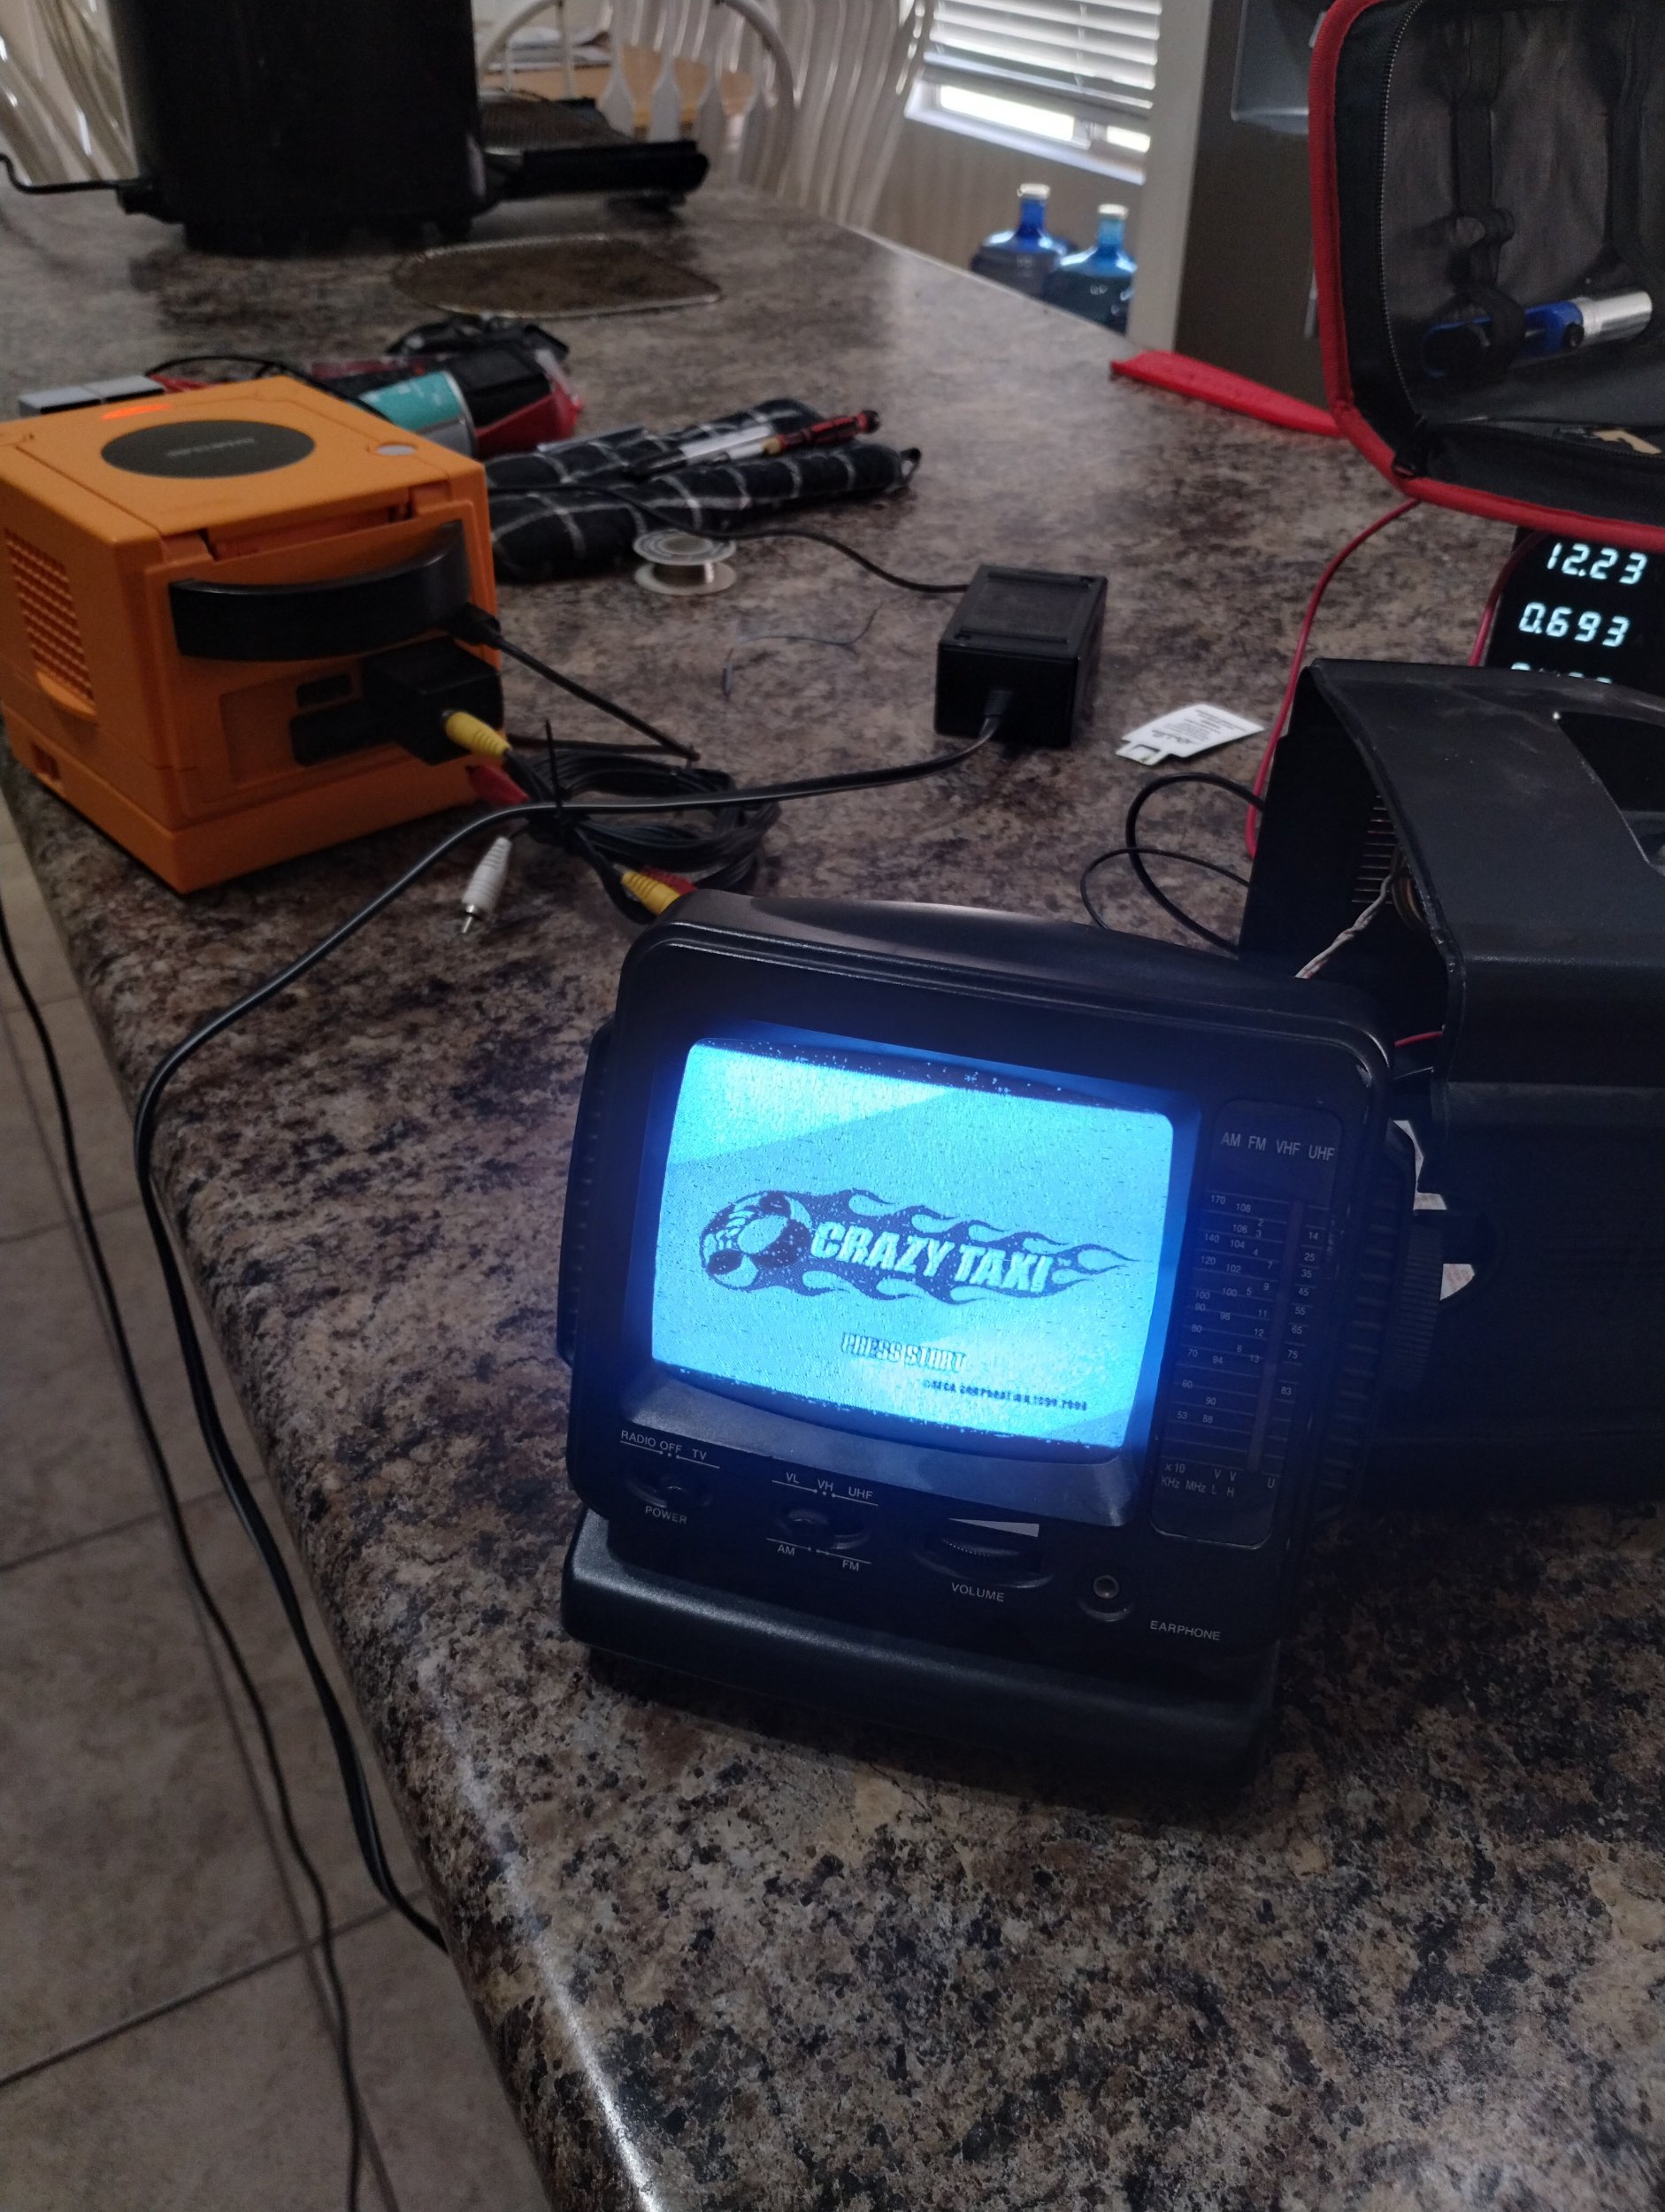
Many years ago, I found a Pacific Technology SW-0615 portable black and white TV. I can’t remember exactly where or when, or how much it cost. This was likely in the mid 2010s at a thrift store, and probably cost a single digit dollar amount. I had recently gotten into retro game collecting at the time, so I was buying a lot of CRTs at thrift stores. I used this pretty infrequently, but every year in high school I would take it and a Gamecube during finals, and whenever we finished our tests we’d play Super Smash Bros. or Mario Kart in the hallways. This was an awful experience for everyone, since it’s black and white it was really hard to know what was going on, especially if multiple people were using the same character.
Fast forward to college, I still had this, and used it once or twice for the novelty. Something to note about this device before I say what happened next. This accepts either TEN C BATTERIES, or a 12VDC barrel jack input. I never had ten batteries laying around, and wouldn’t buy batteries for such a project, so I always powered it via barrel jack. However, I never had the proper power supply for this. I used to power it with a random power supply I had laying around, and I stole a barrel jack from a different device, which I’m pretty sure was a Sega Genesis. I used this power supply for other projects, so I never finalized this. I merely twisted the wires together whenever I wanted to use this. Professional? No. Functional? Barely. Flashback over, back to college. I went to turn it on, and nothing happened. Nothing spectacular, no sparks, just didn’t turn on. Looking back, I’m about 50% sure I reversed the DC power. It never turned on again.
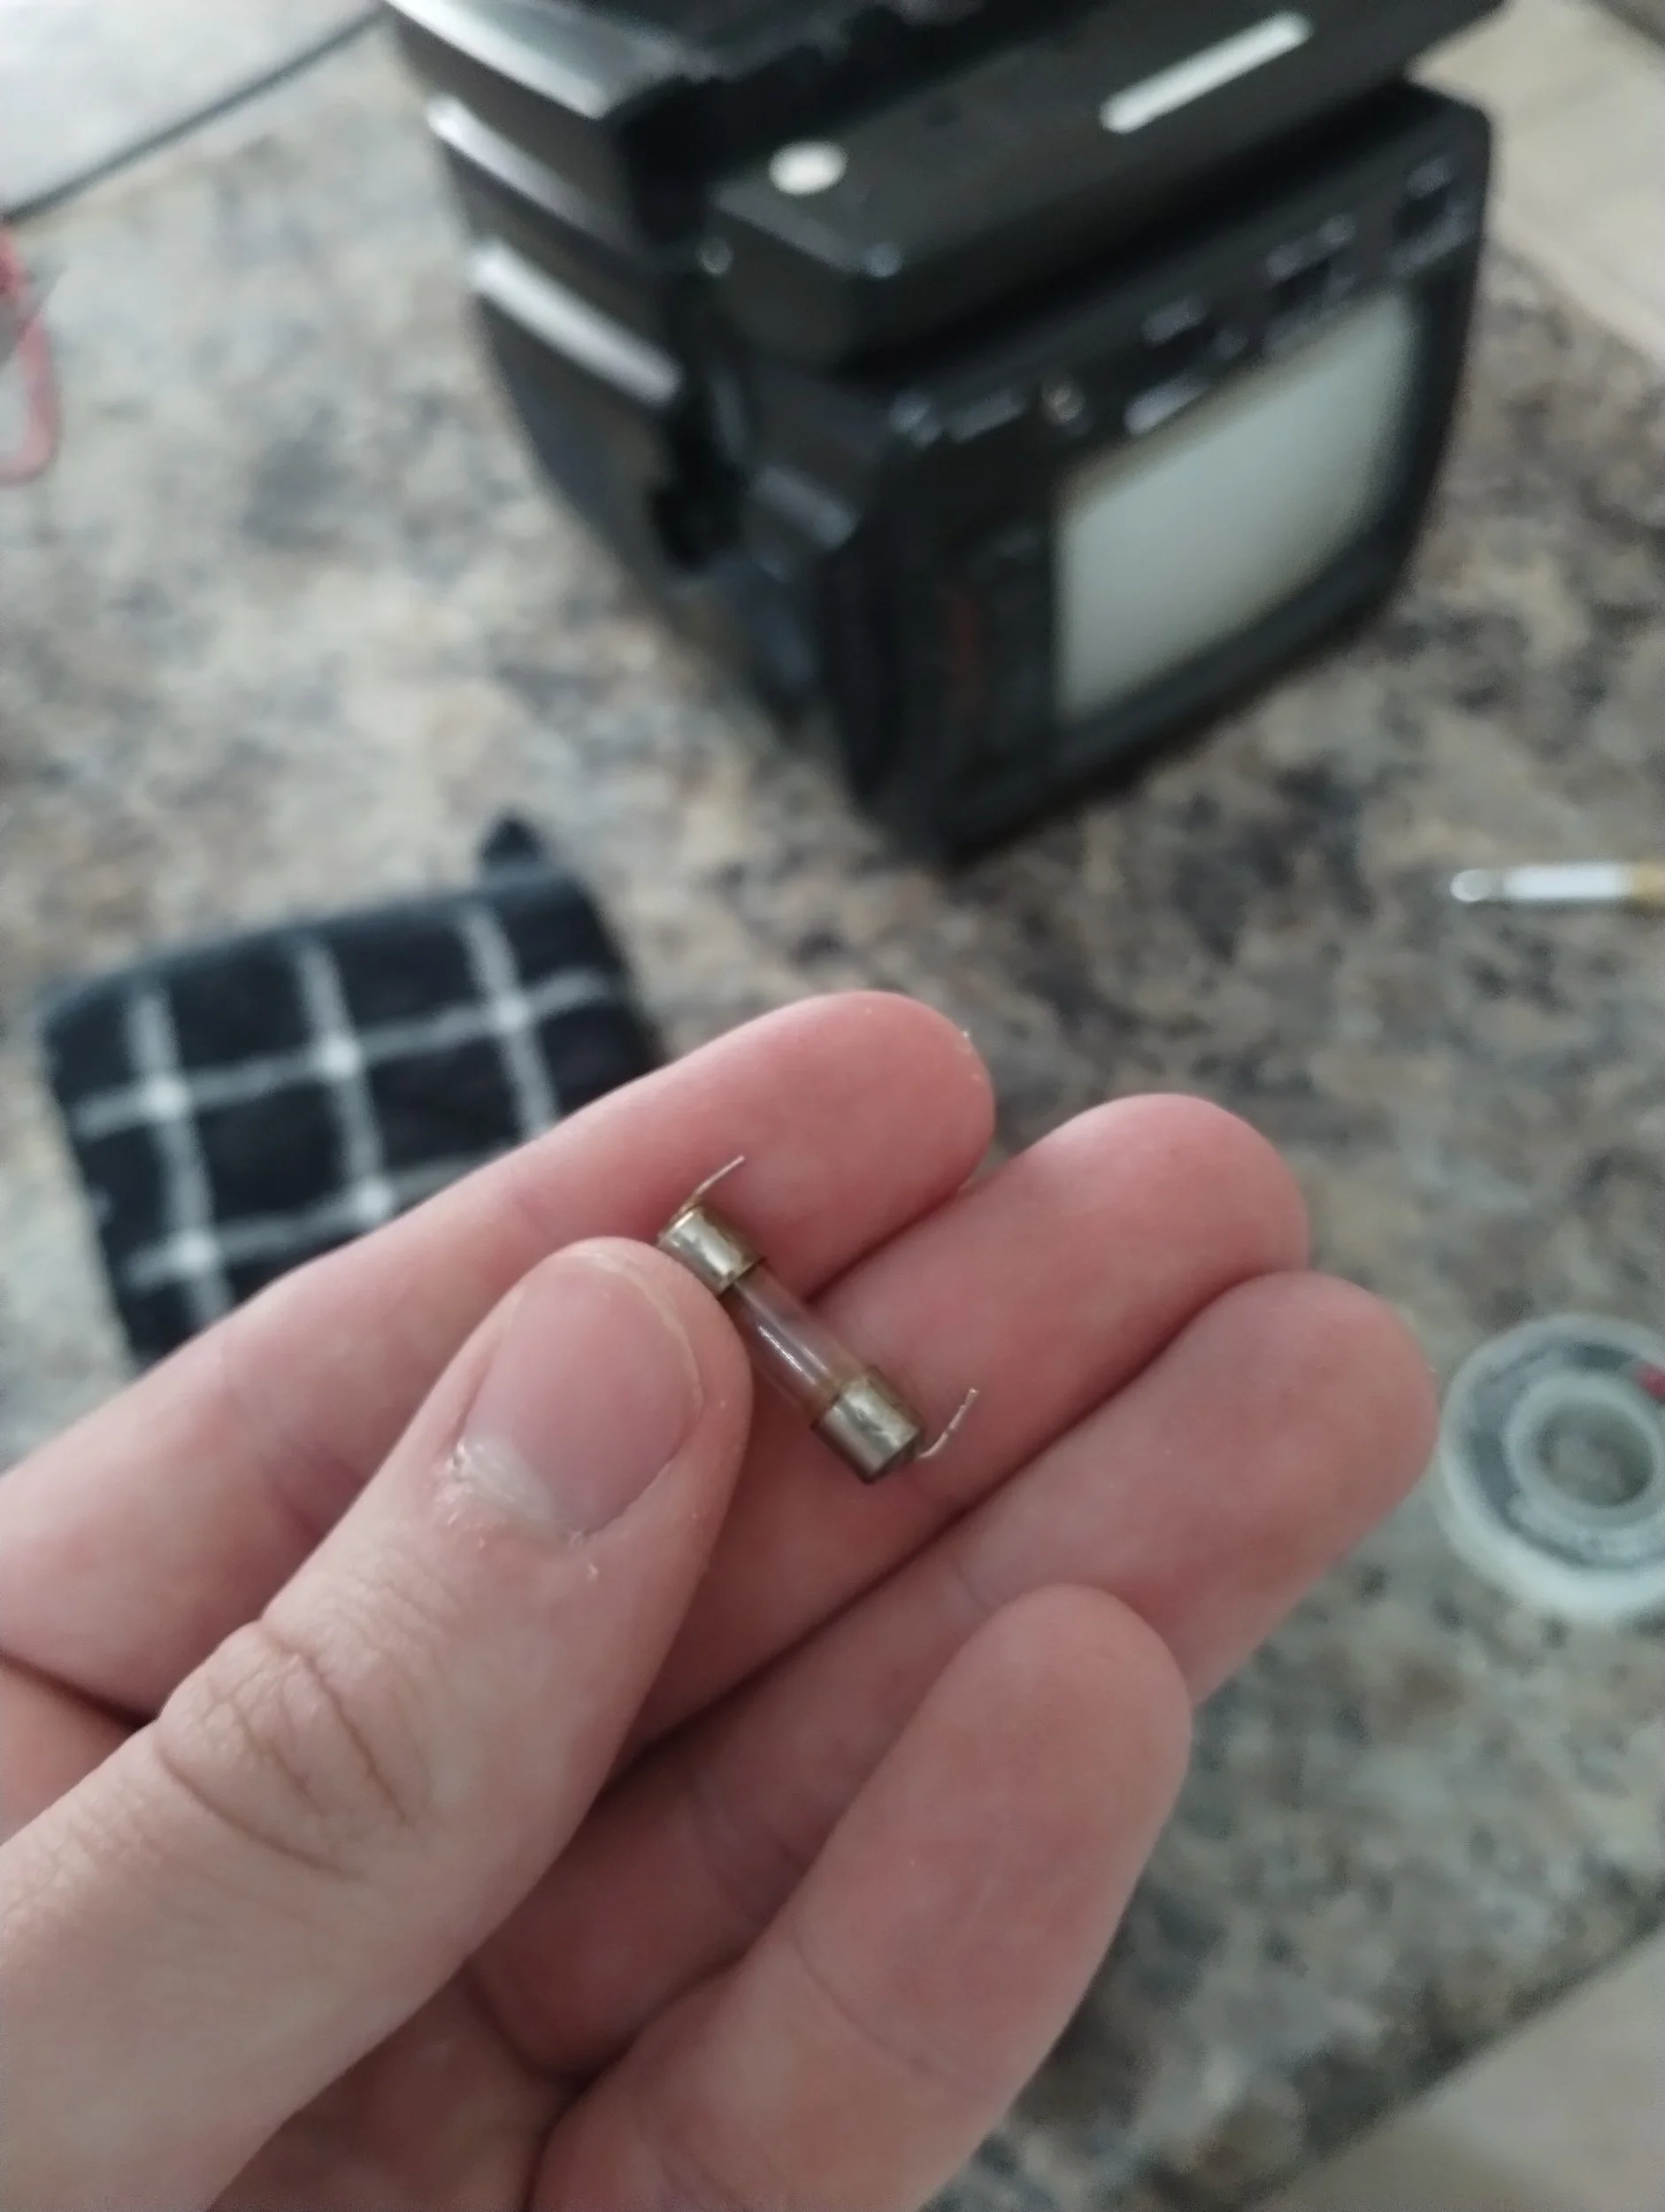
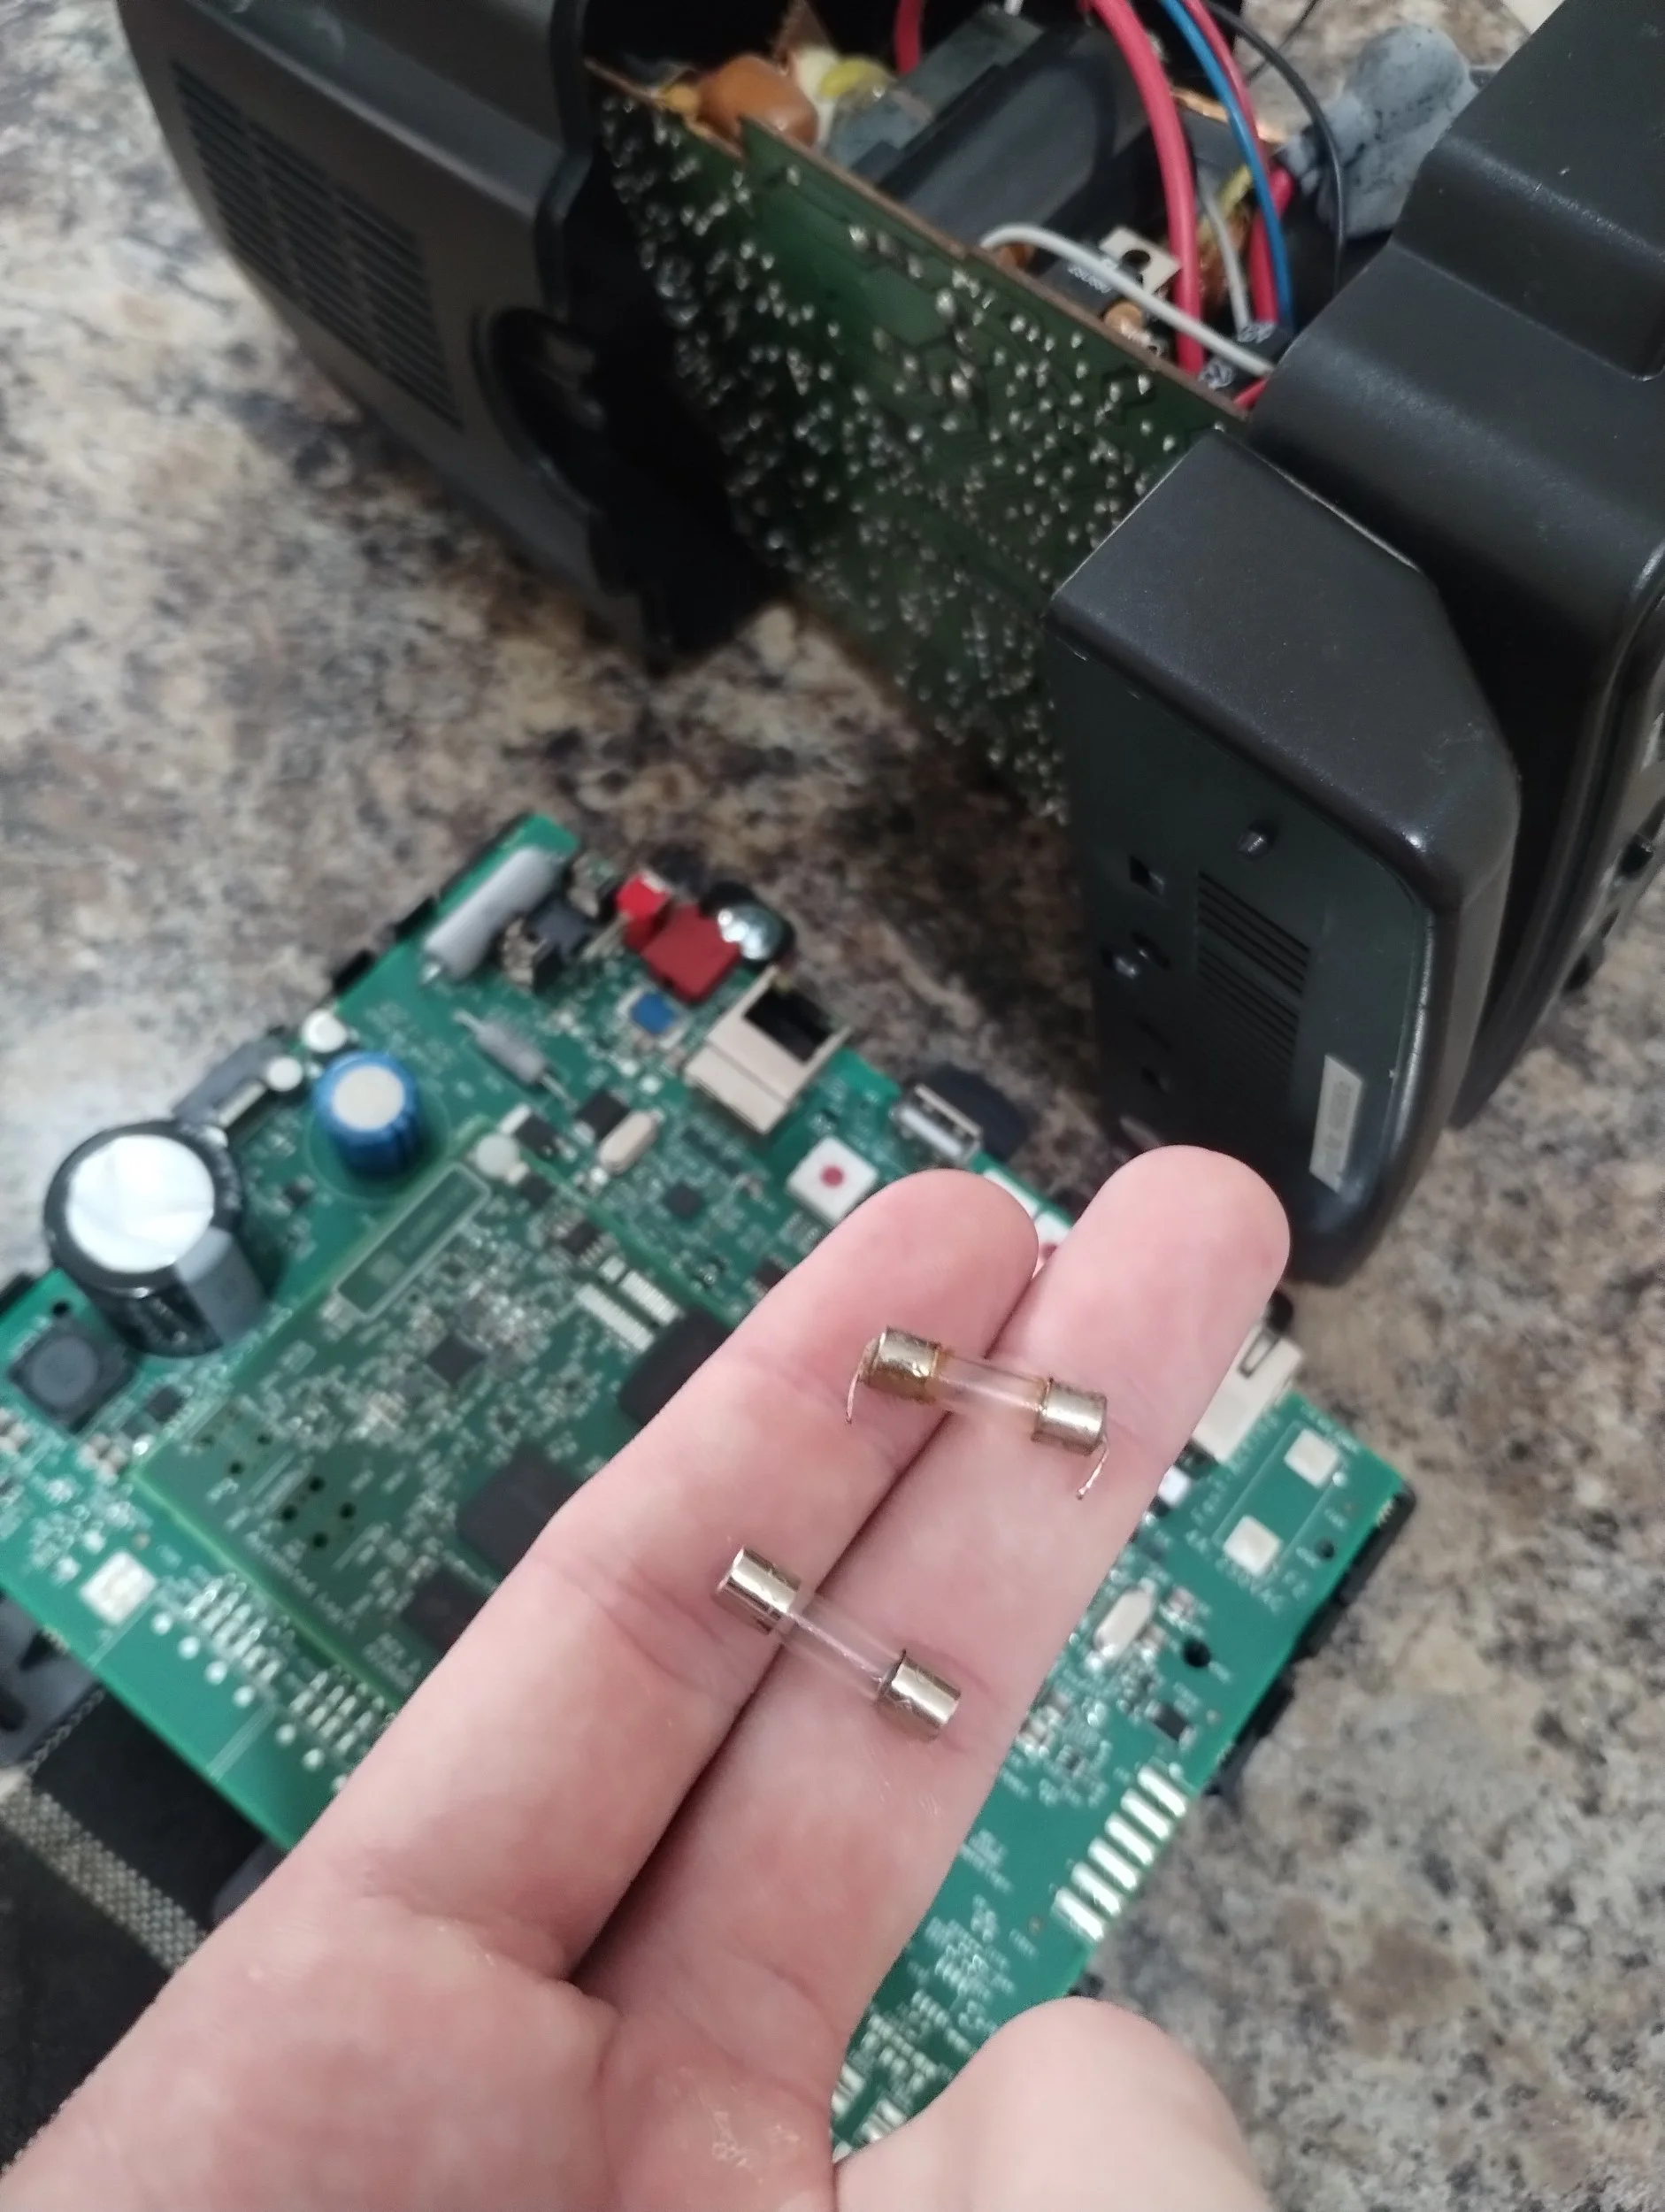
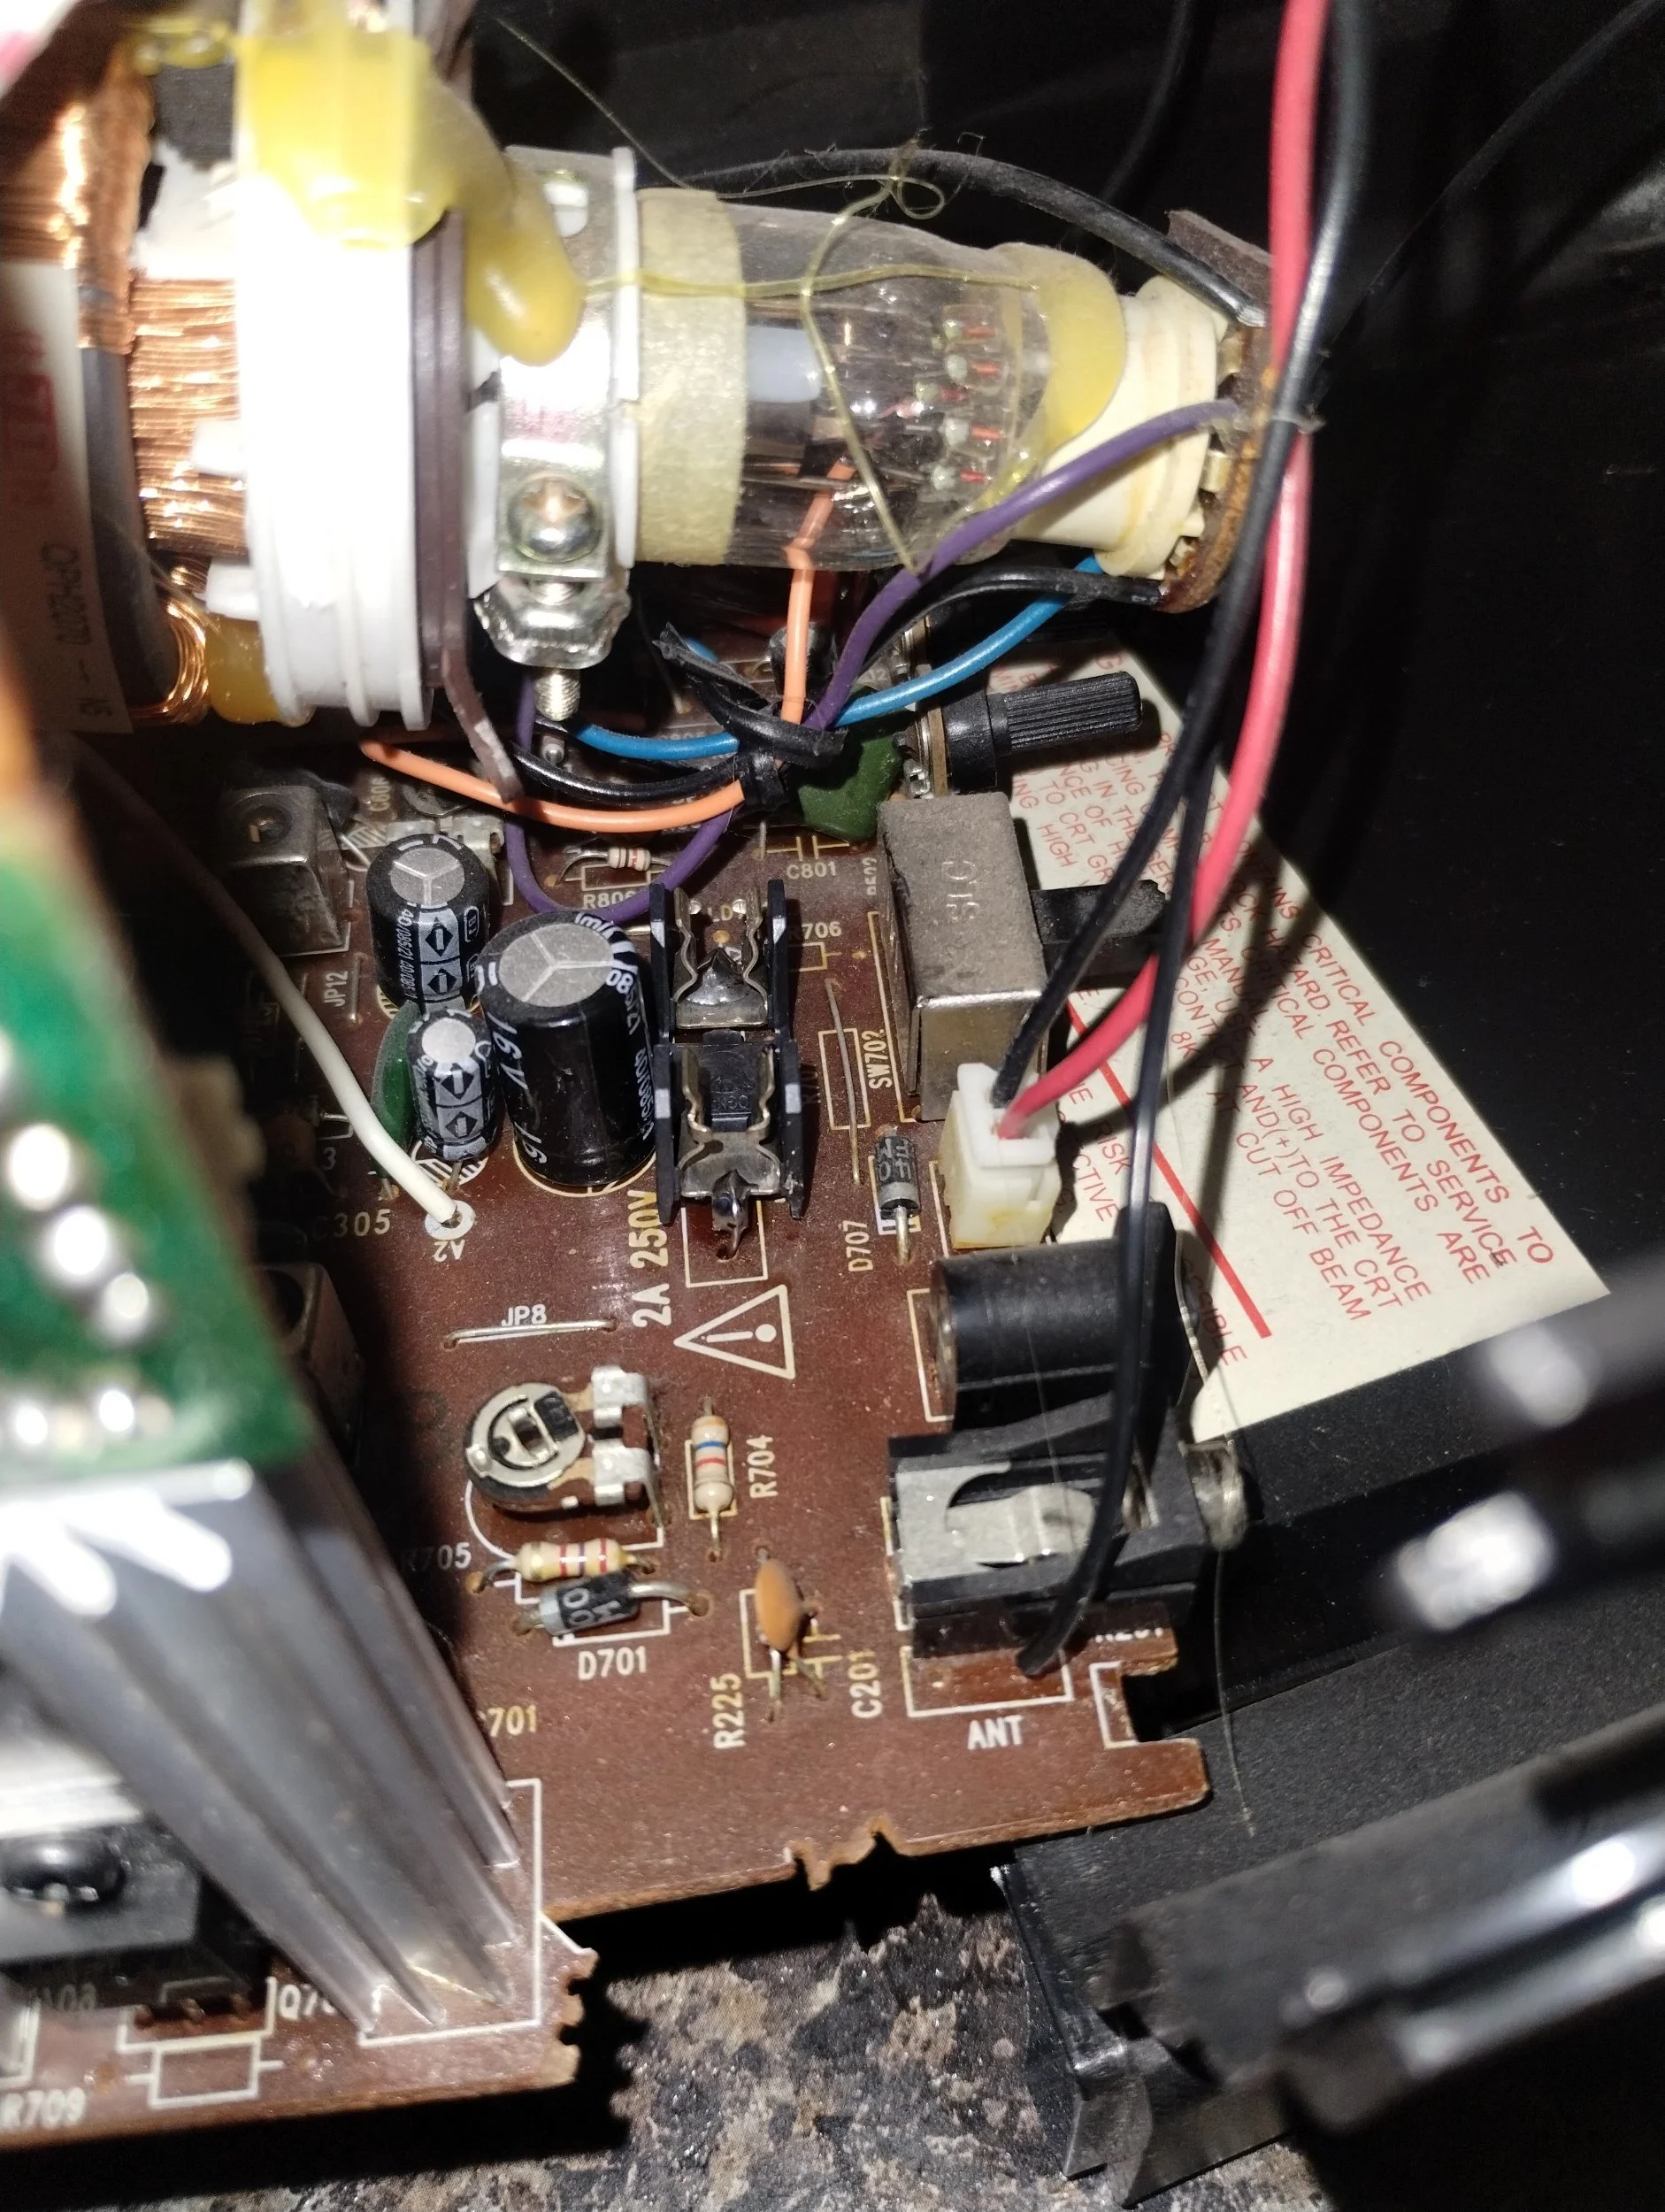
Fast forward again to 2026, and while I still had this TV, it was still nonfunctional. I decided to finally figure out what happened, and see if I could fix it. At first I just tried hooking up power and turning it on, which as expected, did nothing. So, straight to taking it apart. I quickly notice something extremely obvious. There’s a fuse, and it’s blown. Weirdly, it has legs soldered directly to the fuse. I soldered legs to a new fuse, soldered it in, but still didn’t work. I realized that in soldering legs to the fuse, I melted and thus blew the fuse. Instead, I soldered in a fuse holder that I stole from an old router. Adding a fuse into this holder, and my TV turns on again.
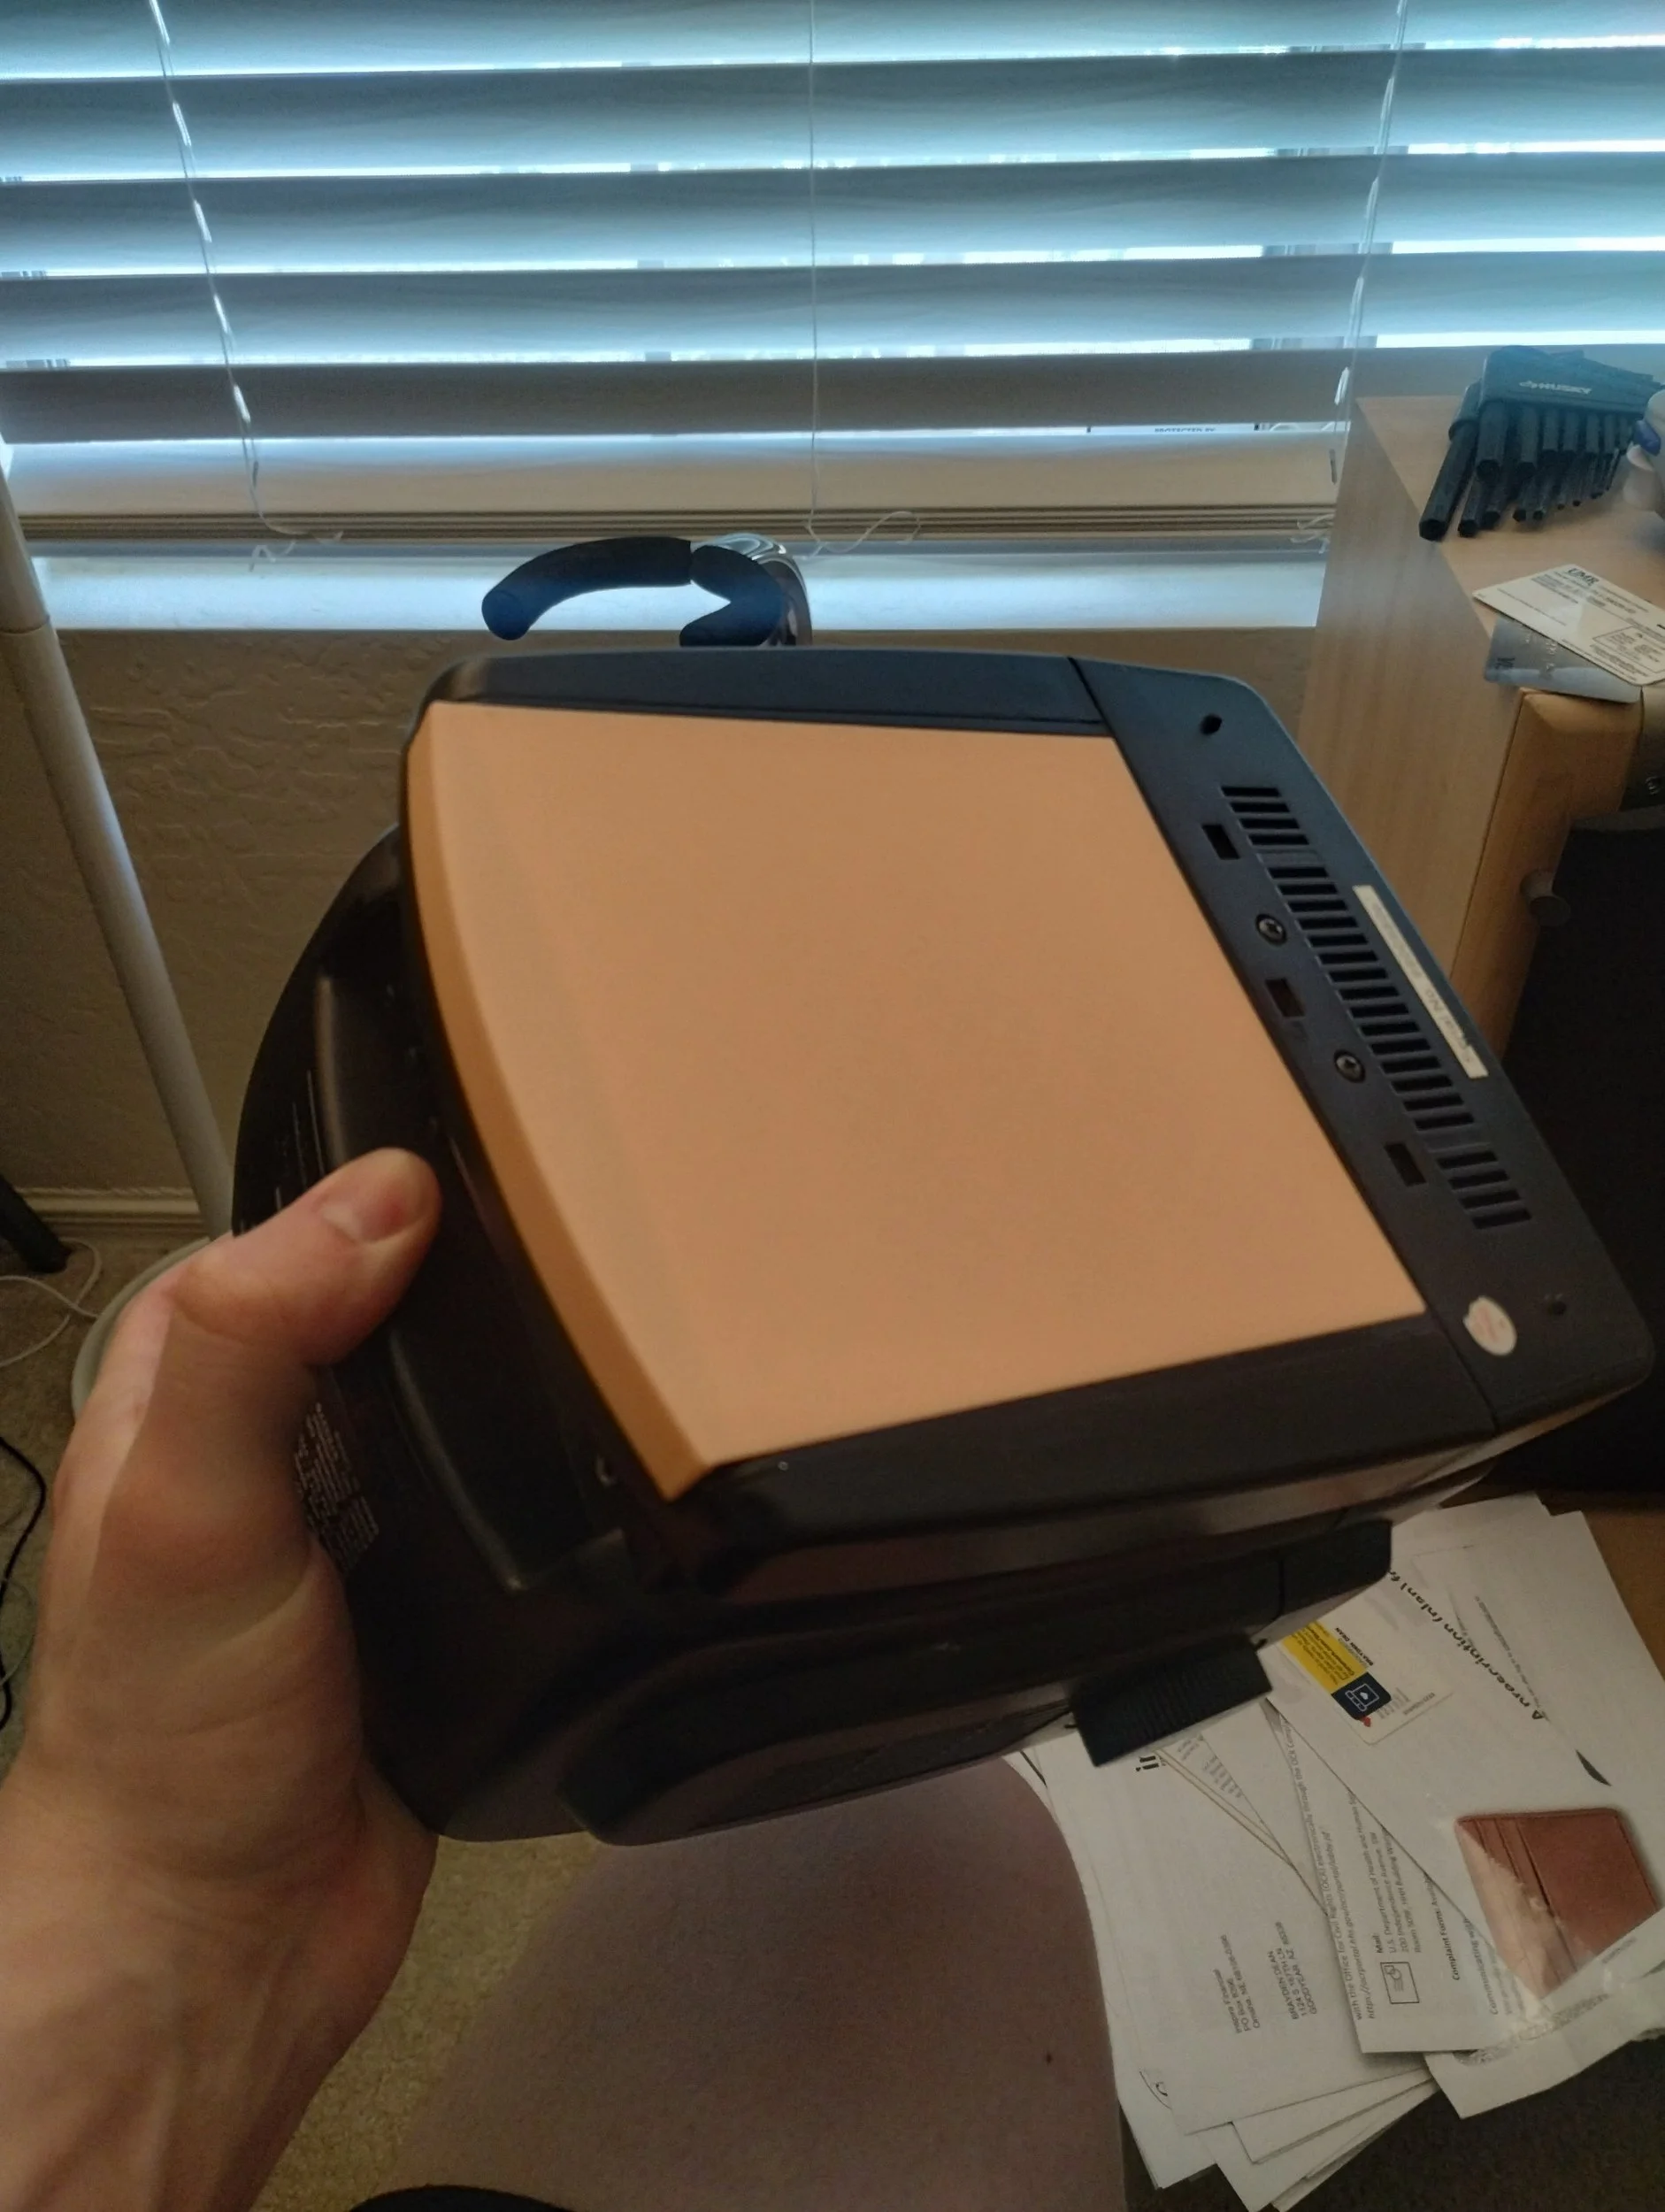
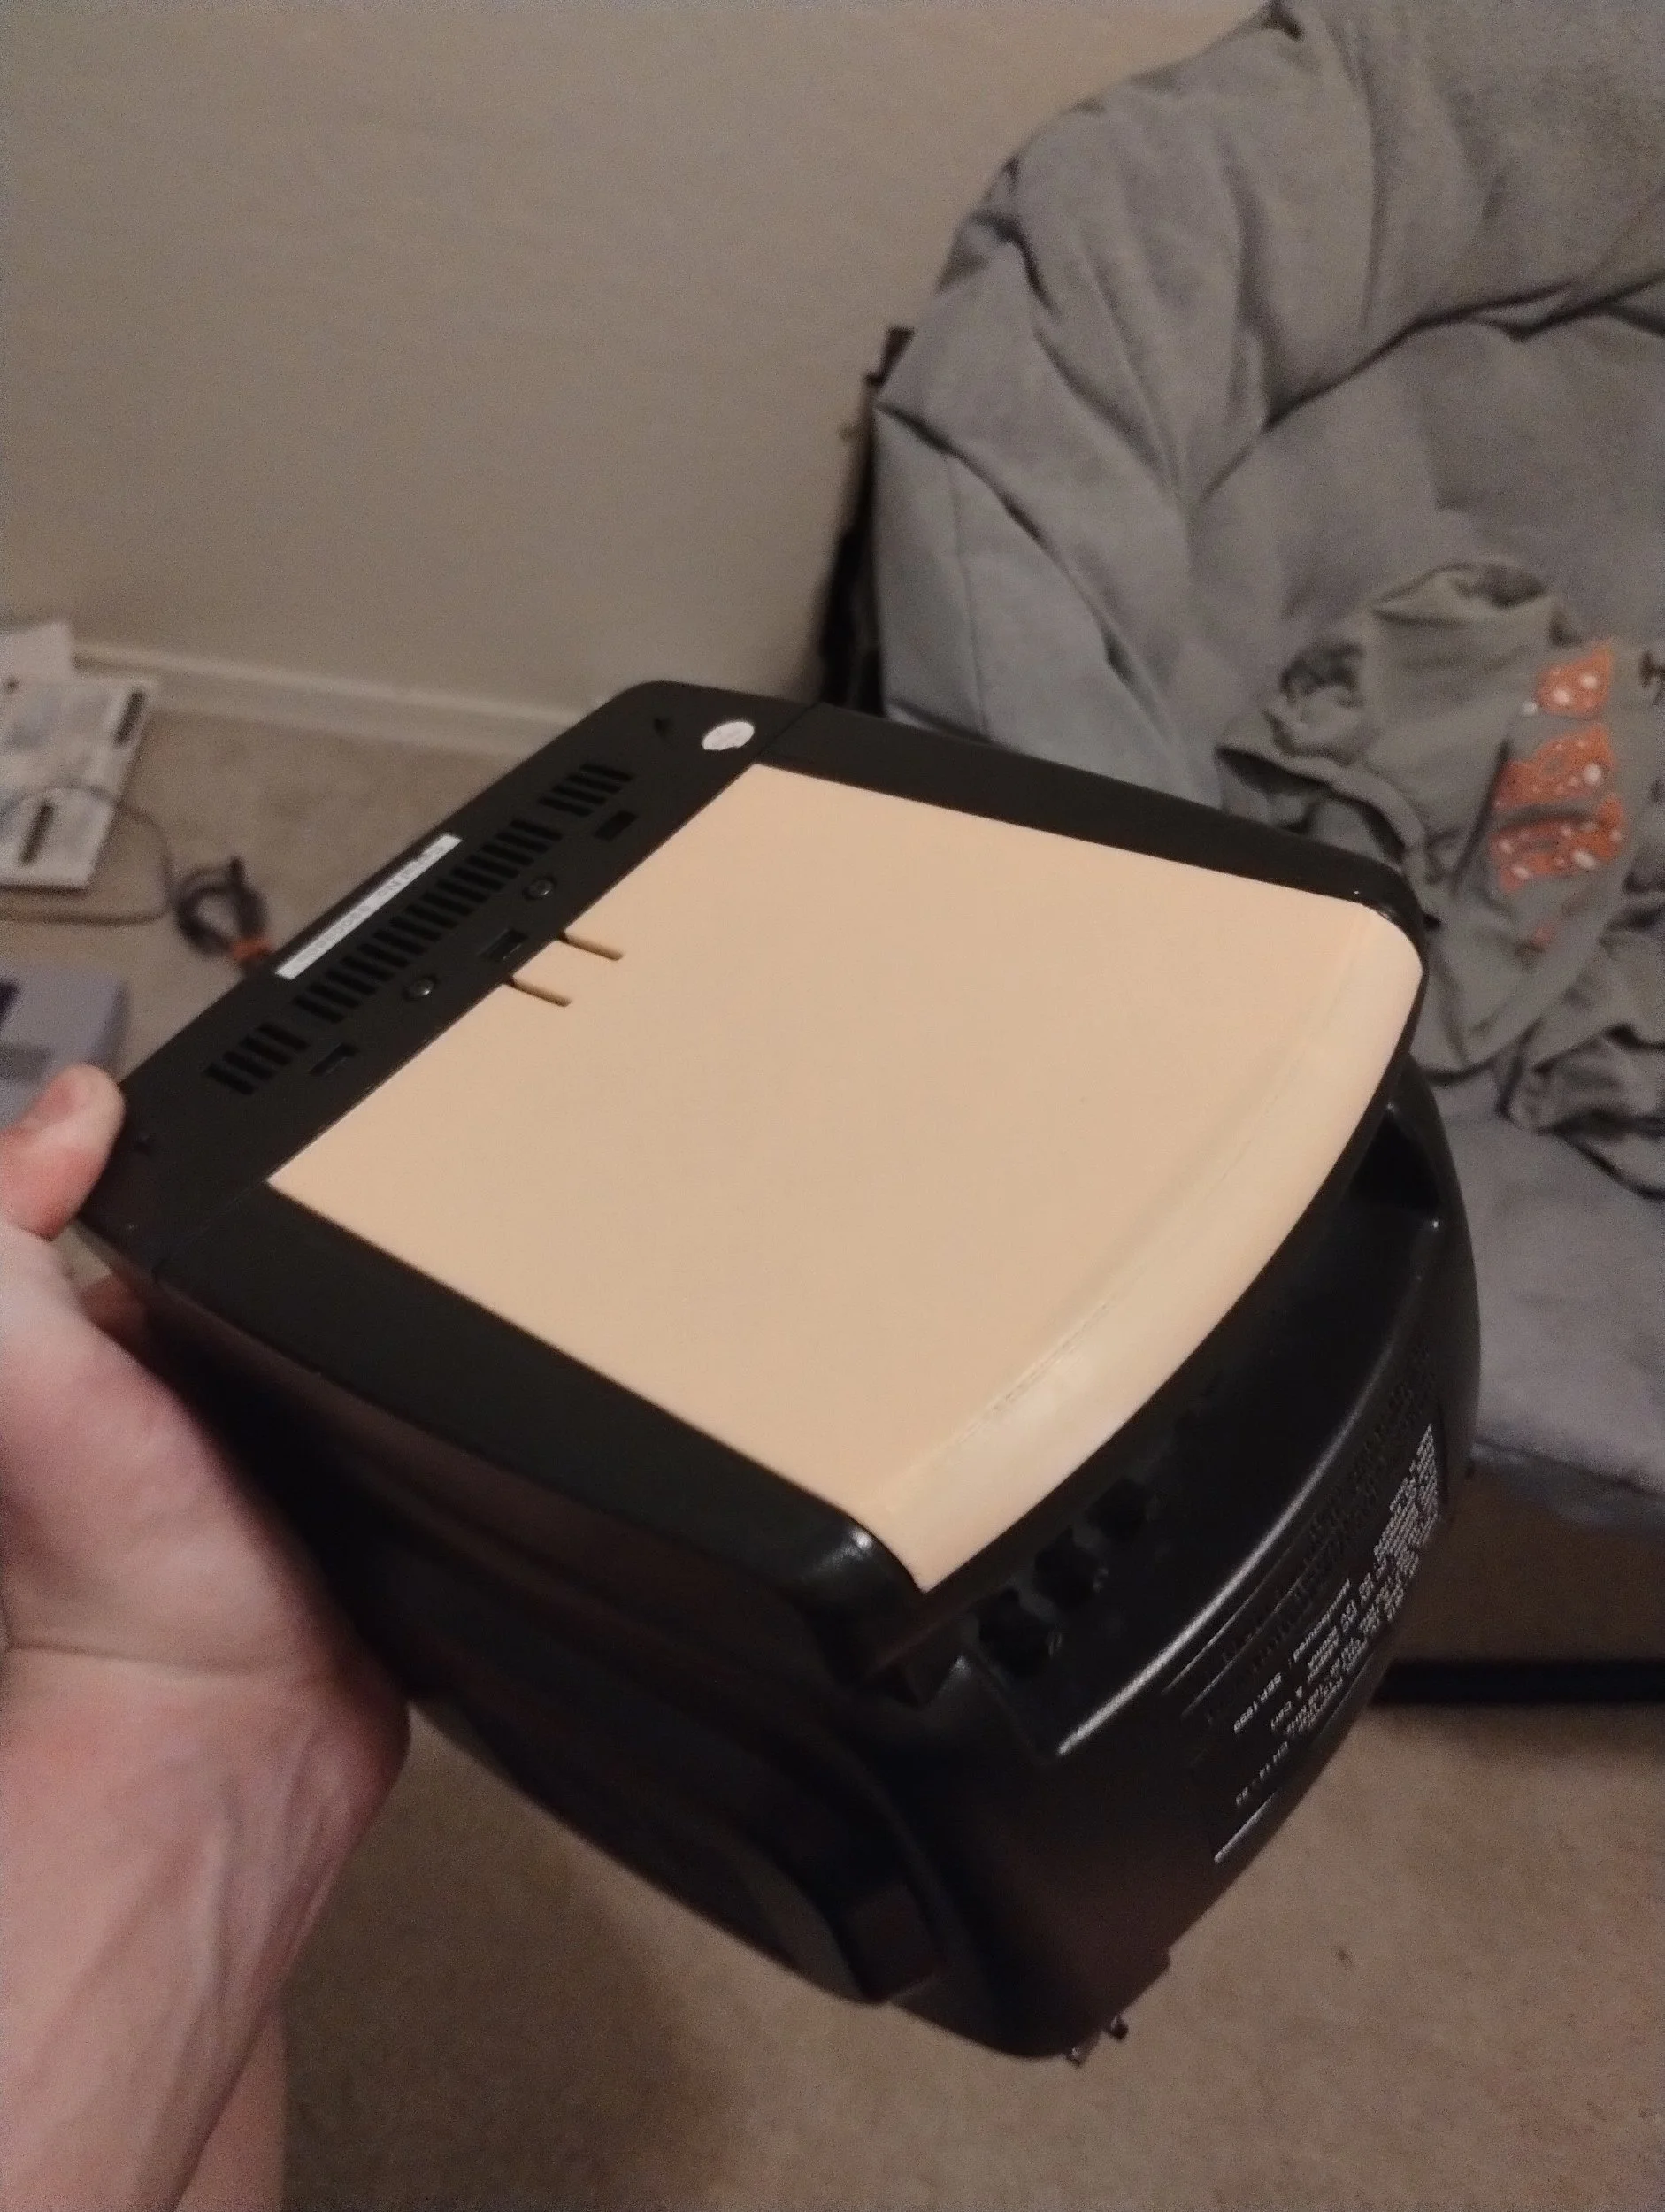
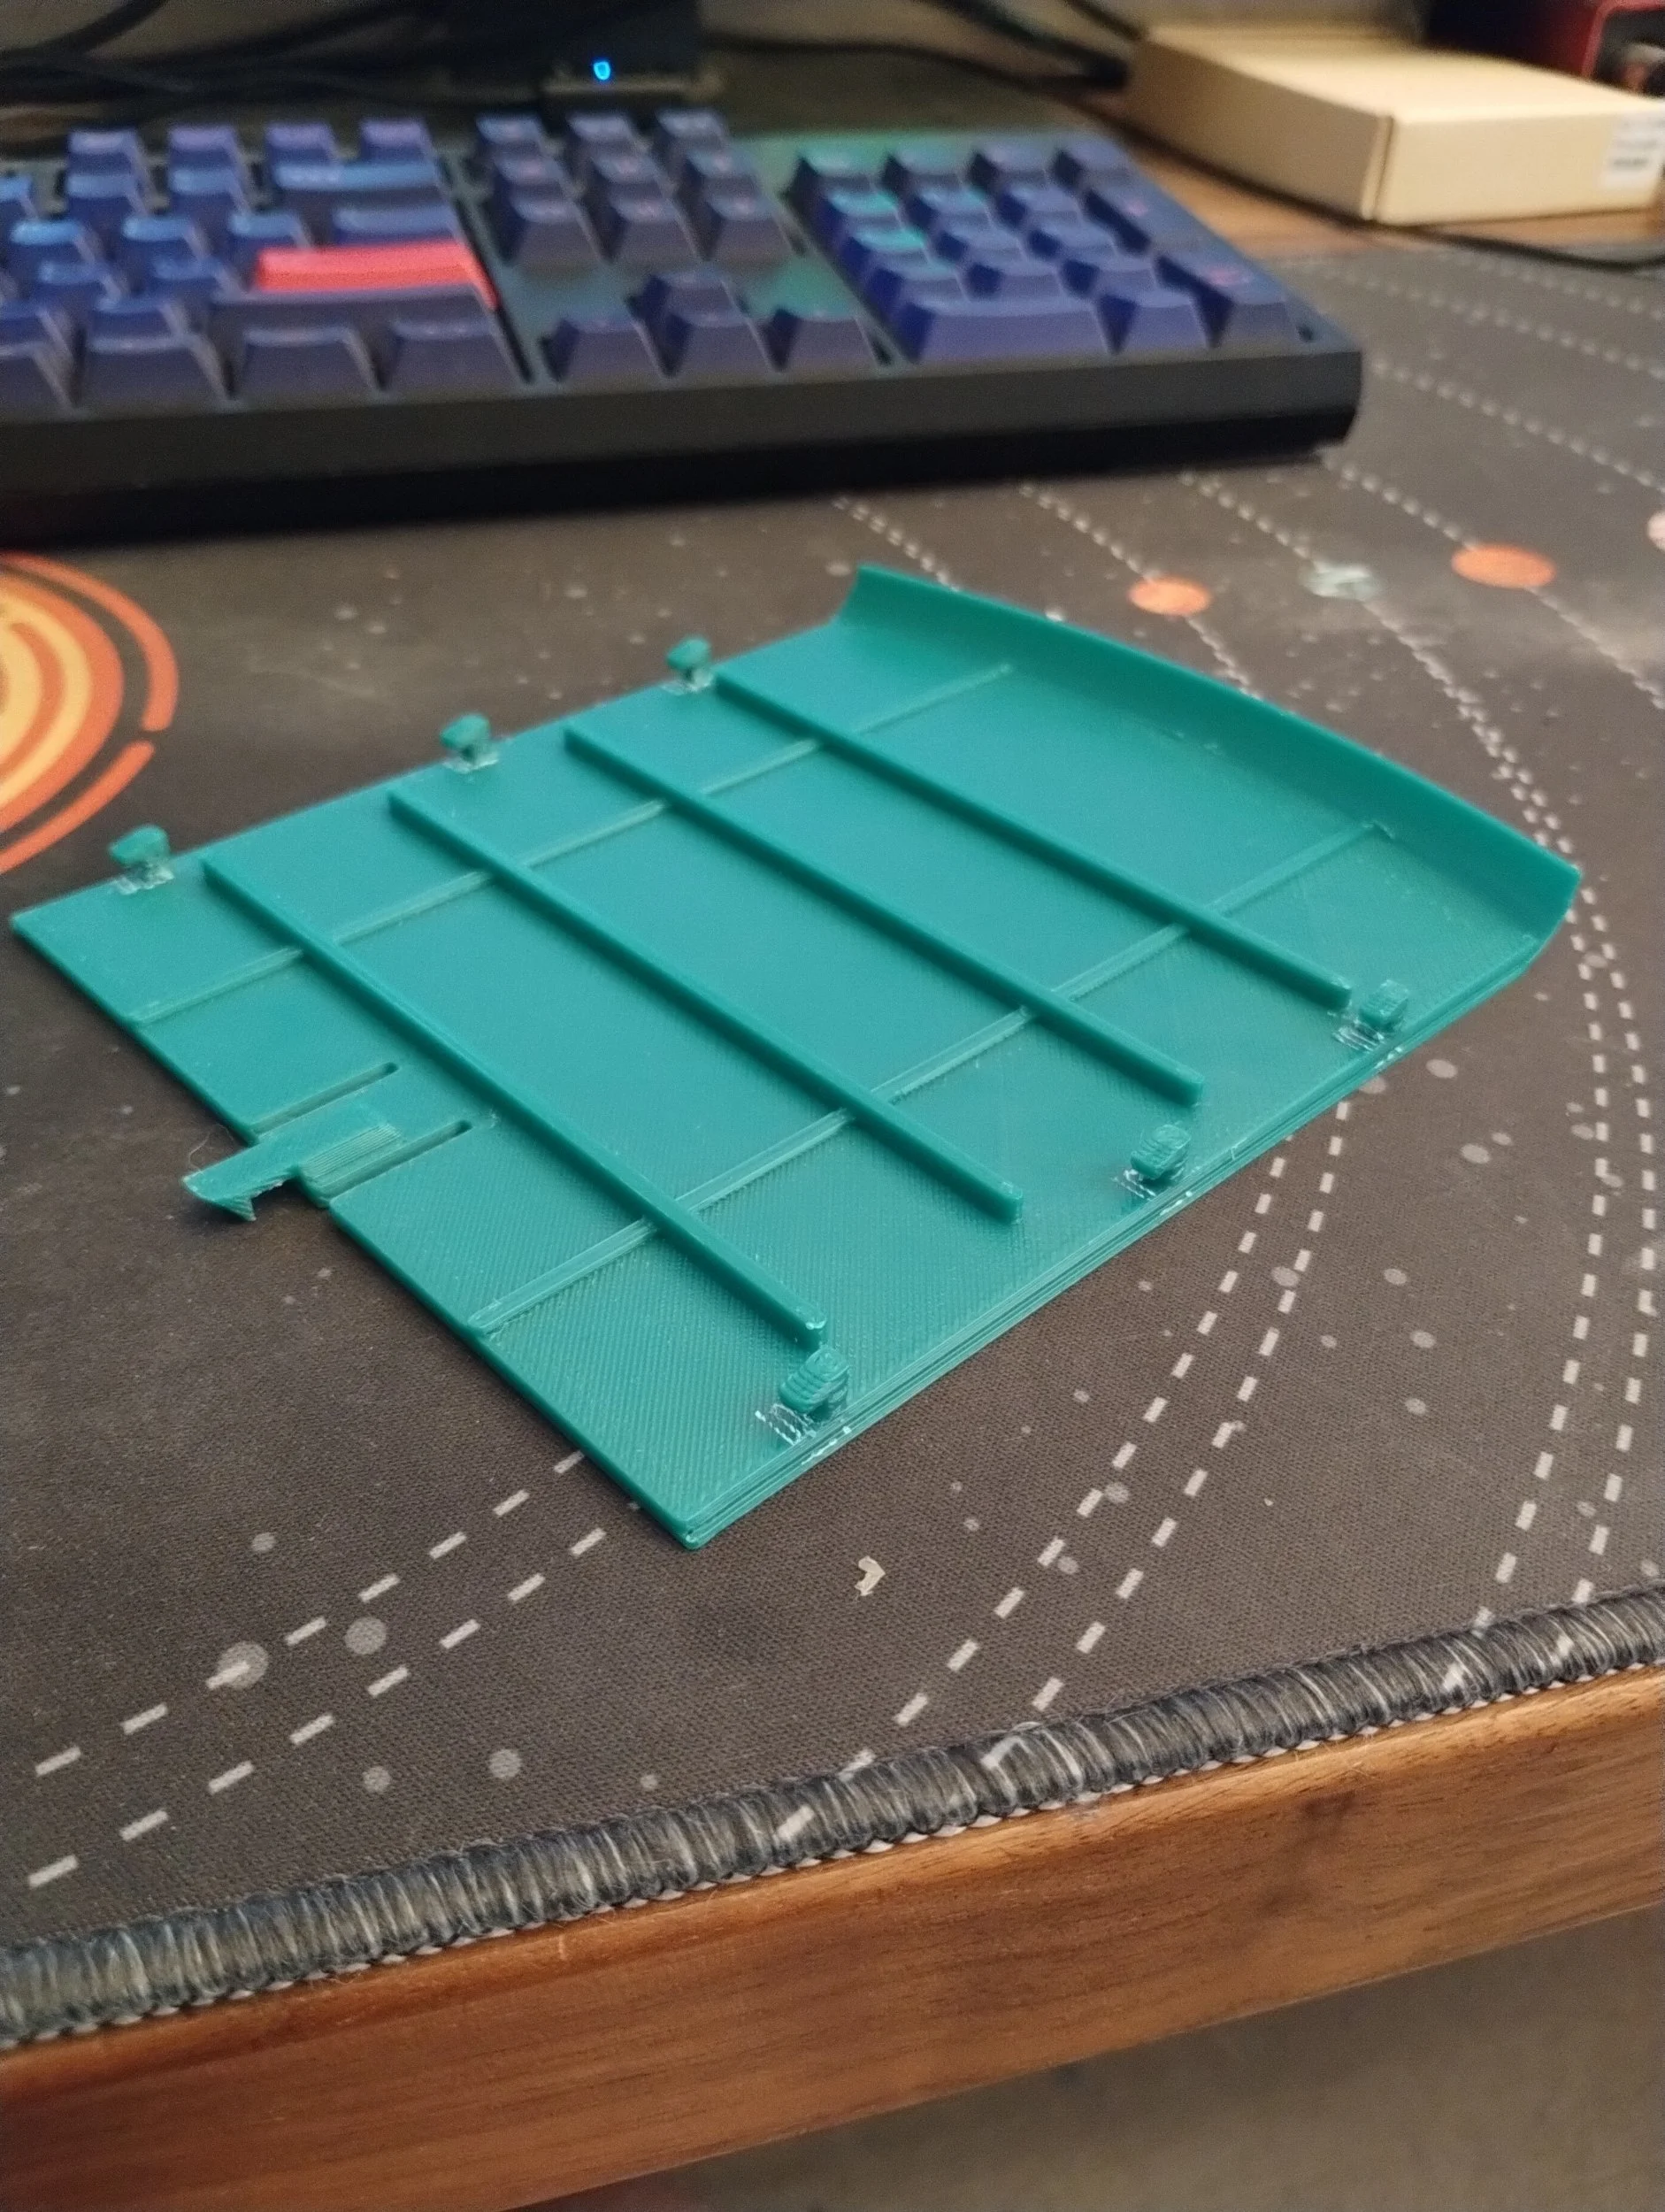
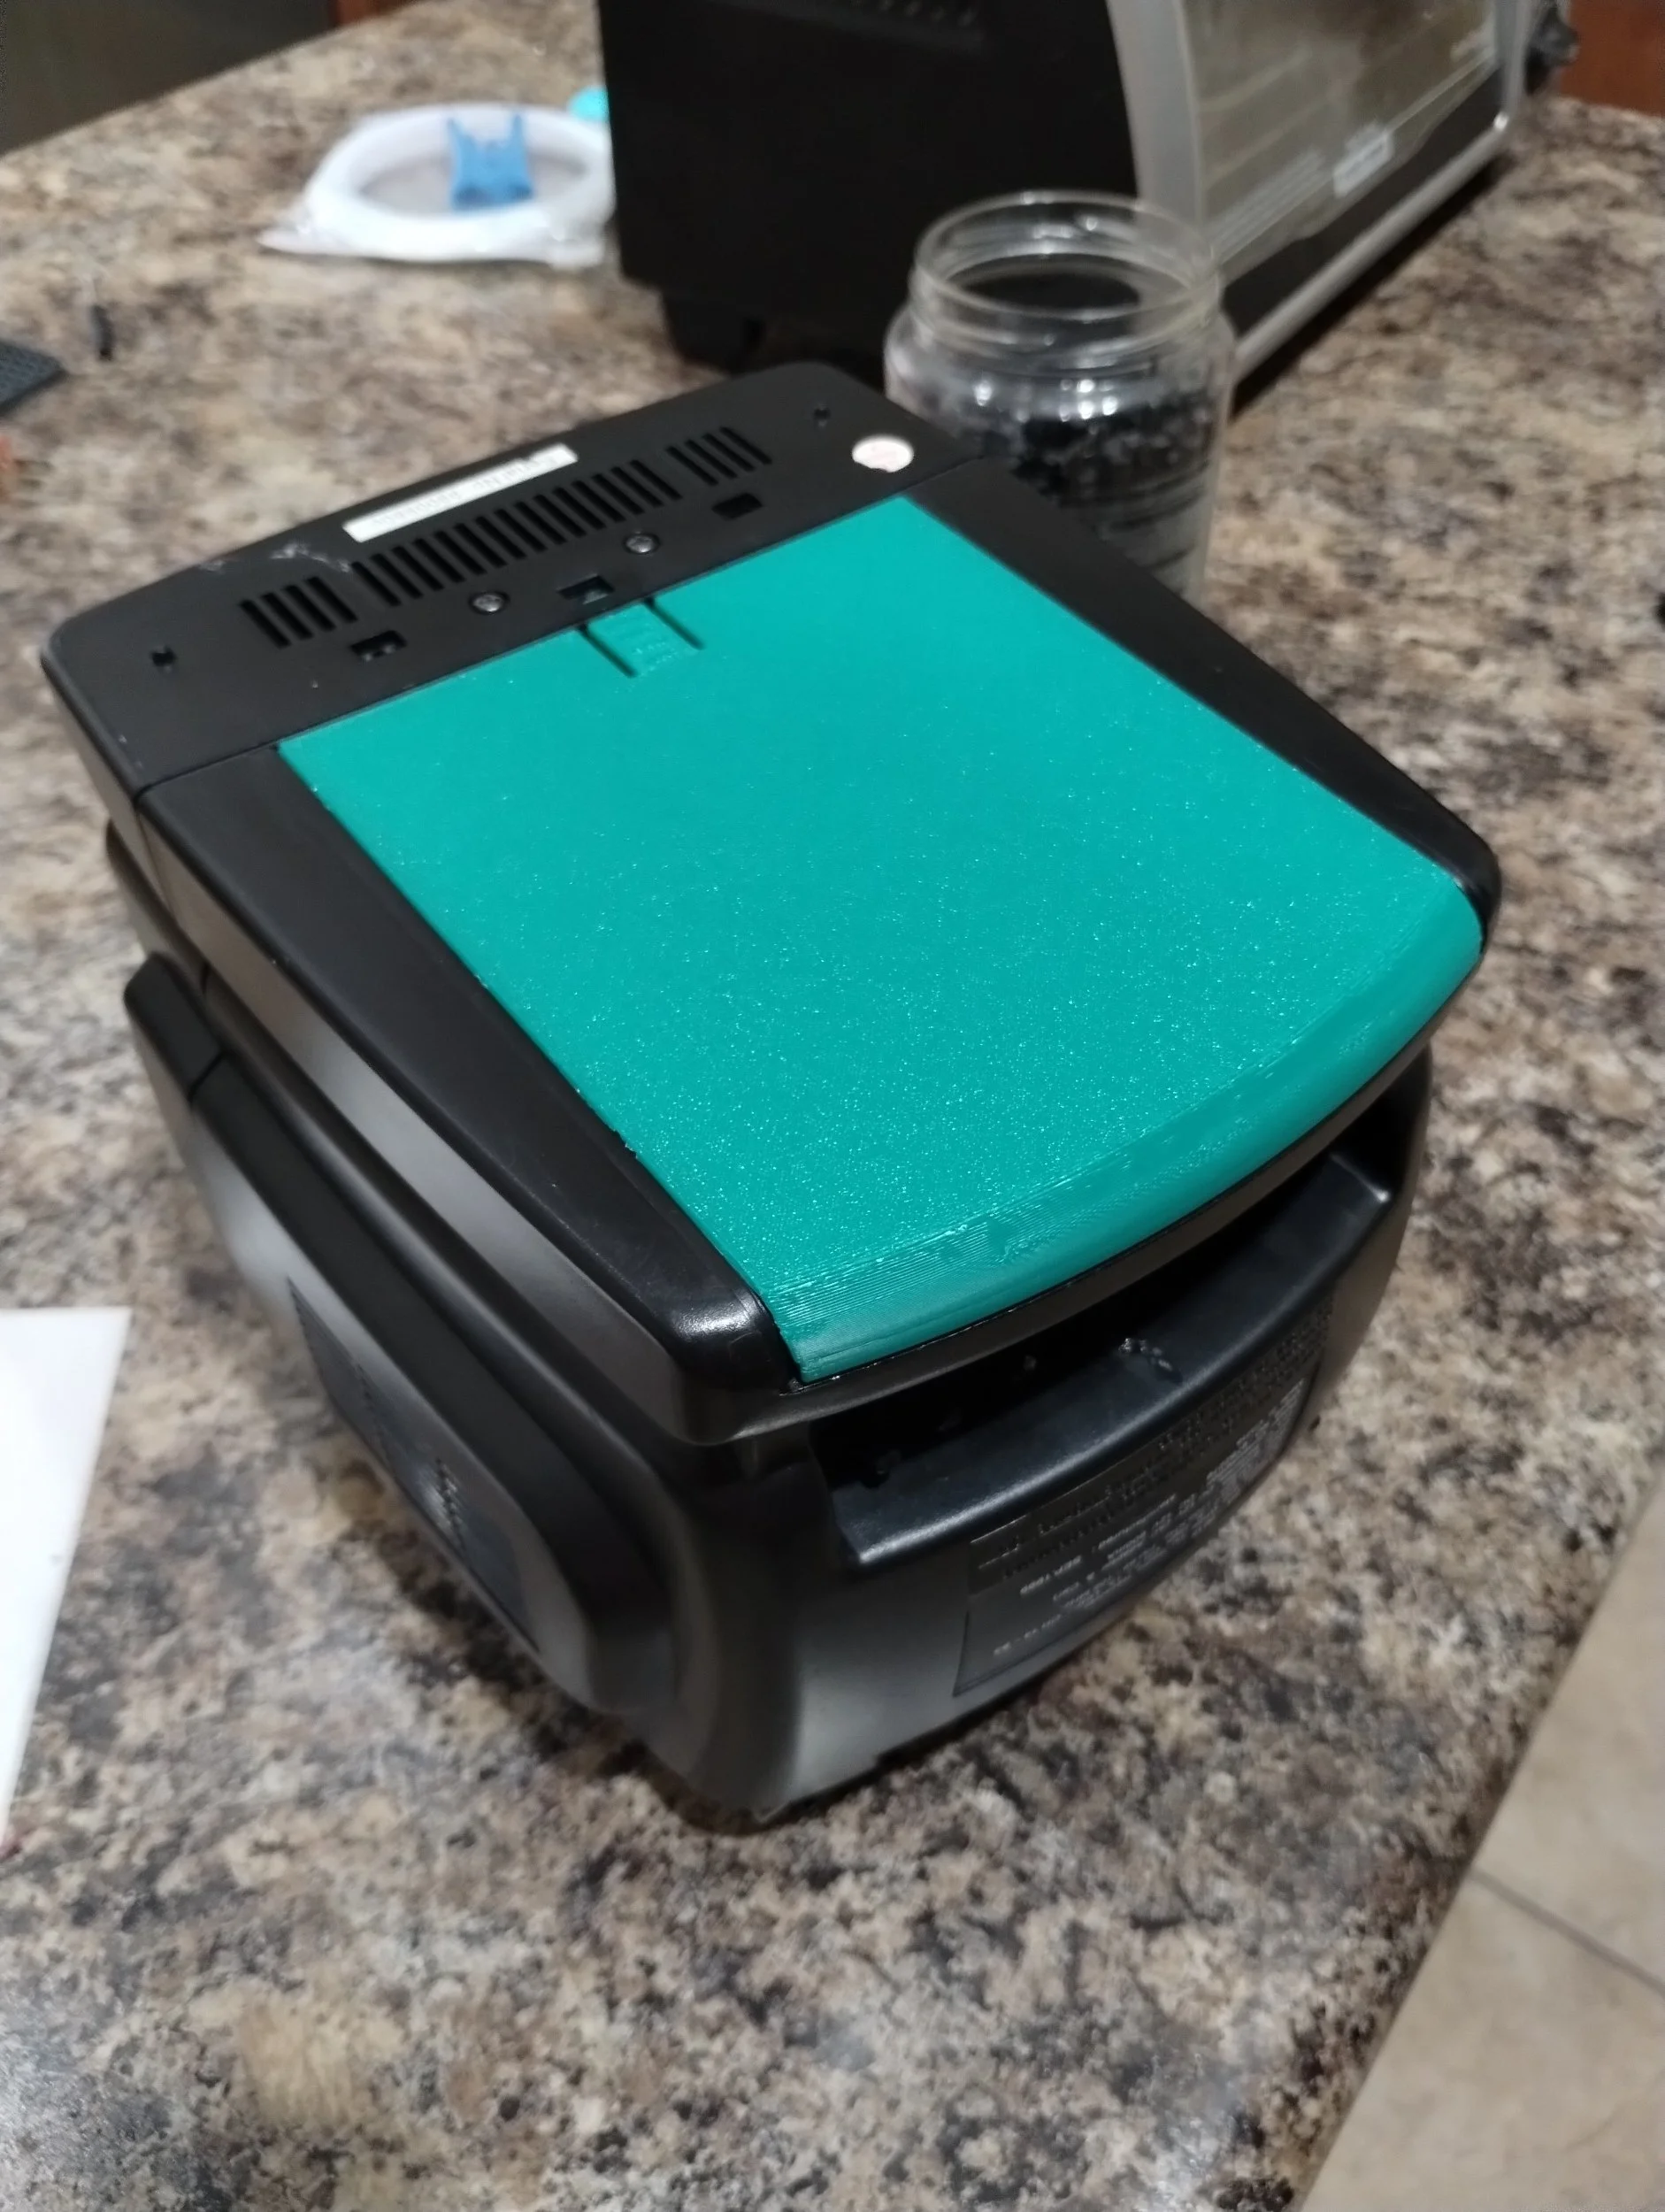
When I first bought this, it had no battery cover. This never bothered me, since I never used batteries to begin with. However, I decided I have the capabilities to fix this now, so I should. This took a bit of 3D modeling, and a few test prints, but I got a design I’m happy with. Not much else to say here but I’ve uploaded the model on Makerworld if anyone else has this same TV without a battery cover. I chose ABS, and a bit of an odd color. Maybe I’ll redo it in black, but at the moment this was the color I had so this was the color I used.
Like many CRT displays, this only accepts RF input. It has a built-in antenna, or allows an external input via a 3.5mm TS jack. This is how I’ve connected game consoles in the past. If you’re up to speed on different video standards, you’ll know that this is far from the best quality video we can get. Now, this is black and white, so it can only get so good, but we can do better. RF video carries video and audio for multiple channels across a single two-wire connection. After a bit of research, this CRT uses a CD5151CP TV-on-a-chip, which decodes the RF signal, amplifies the video and audio, then outputs each to the TV and speaker.
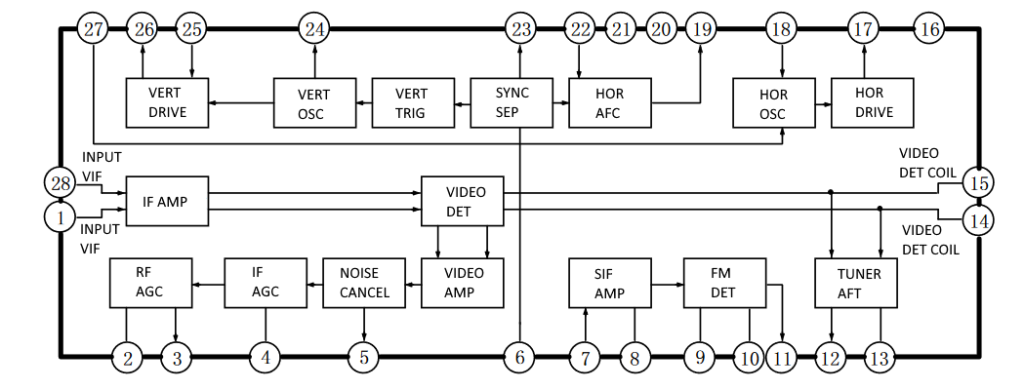
If I’m lucky, I can output composite video directly to pin 5 and get video on my TV. There will be a lot of interference from doing it this way, but if it works I can cut the trace and skip the RF circuitry entirely. I soldered some wires to test, and… success! That’s all RF interference. Cut the trace, and it’s crystal clear. I am far from the first person to do this, this is a relatively documented mod online.
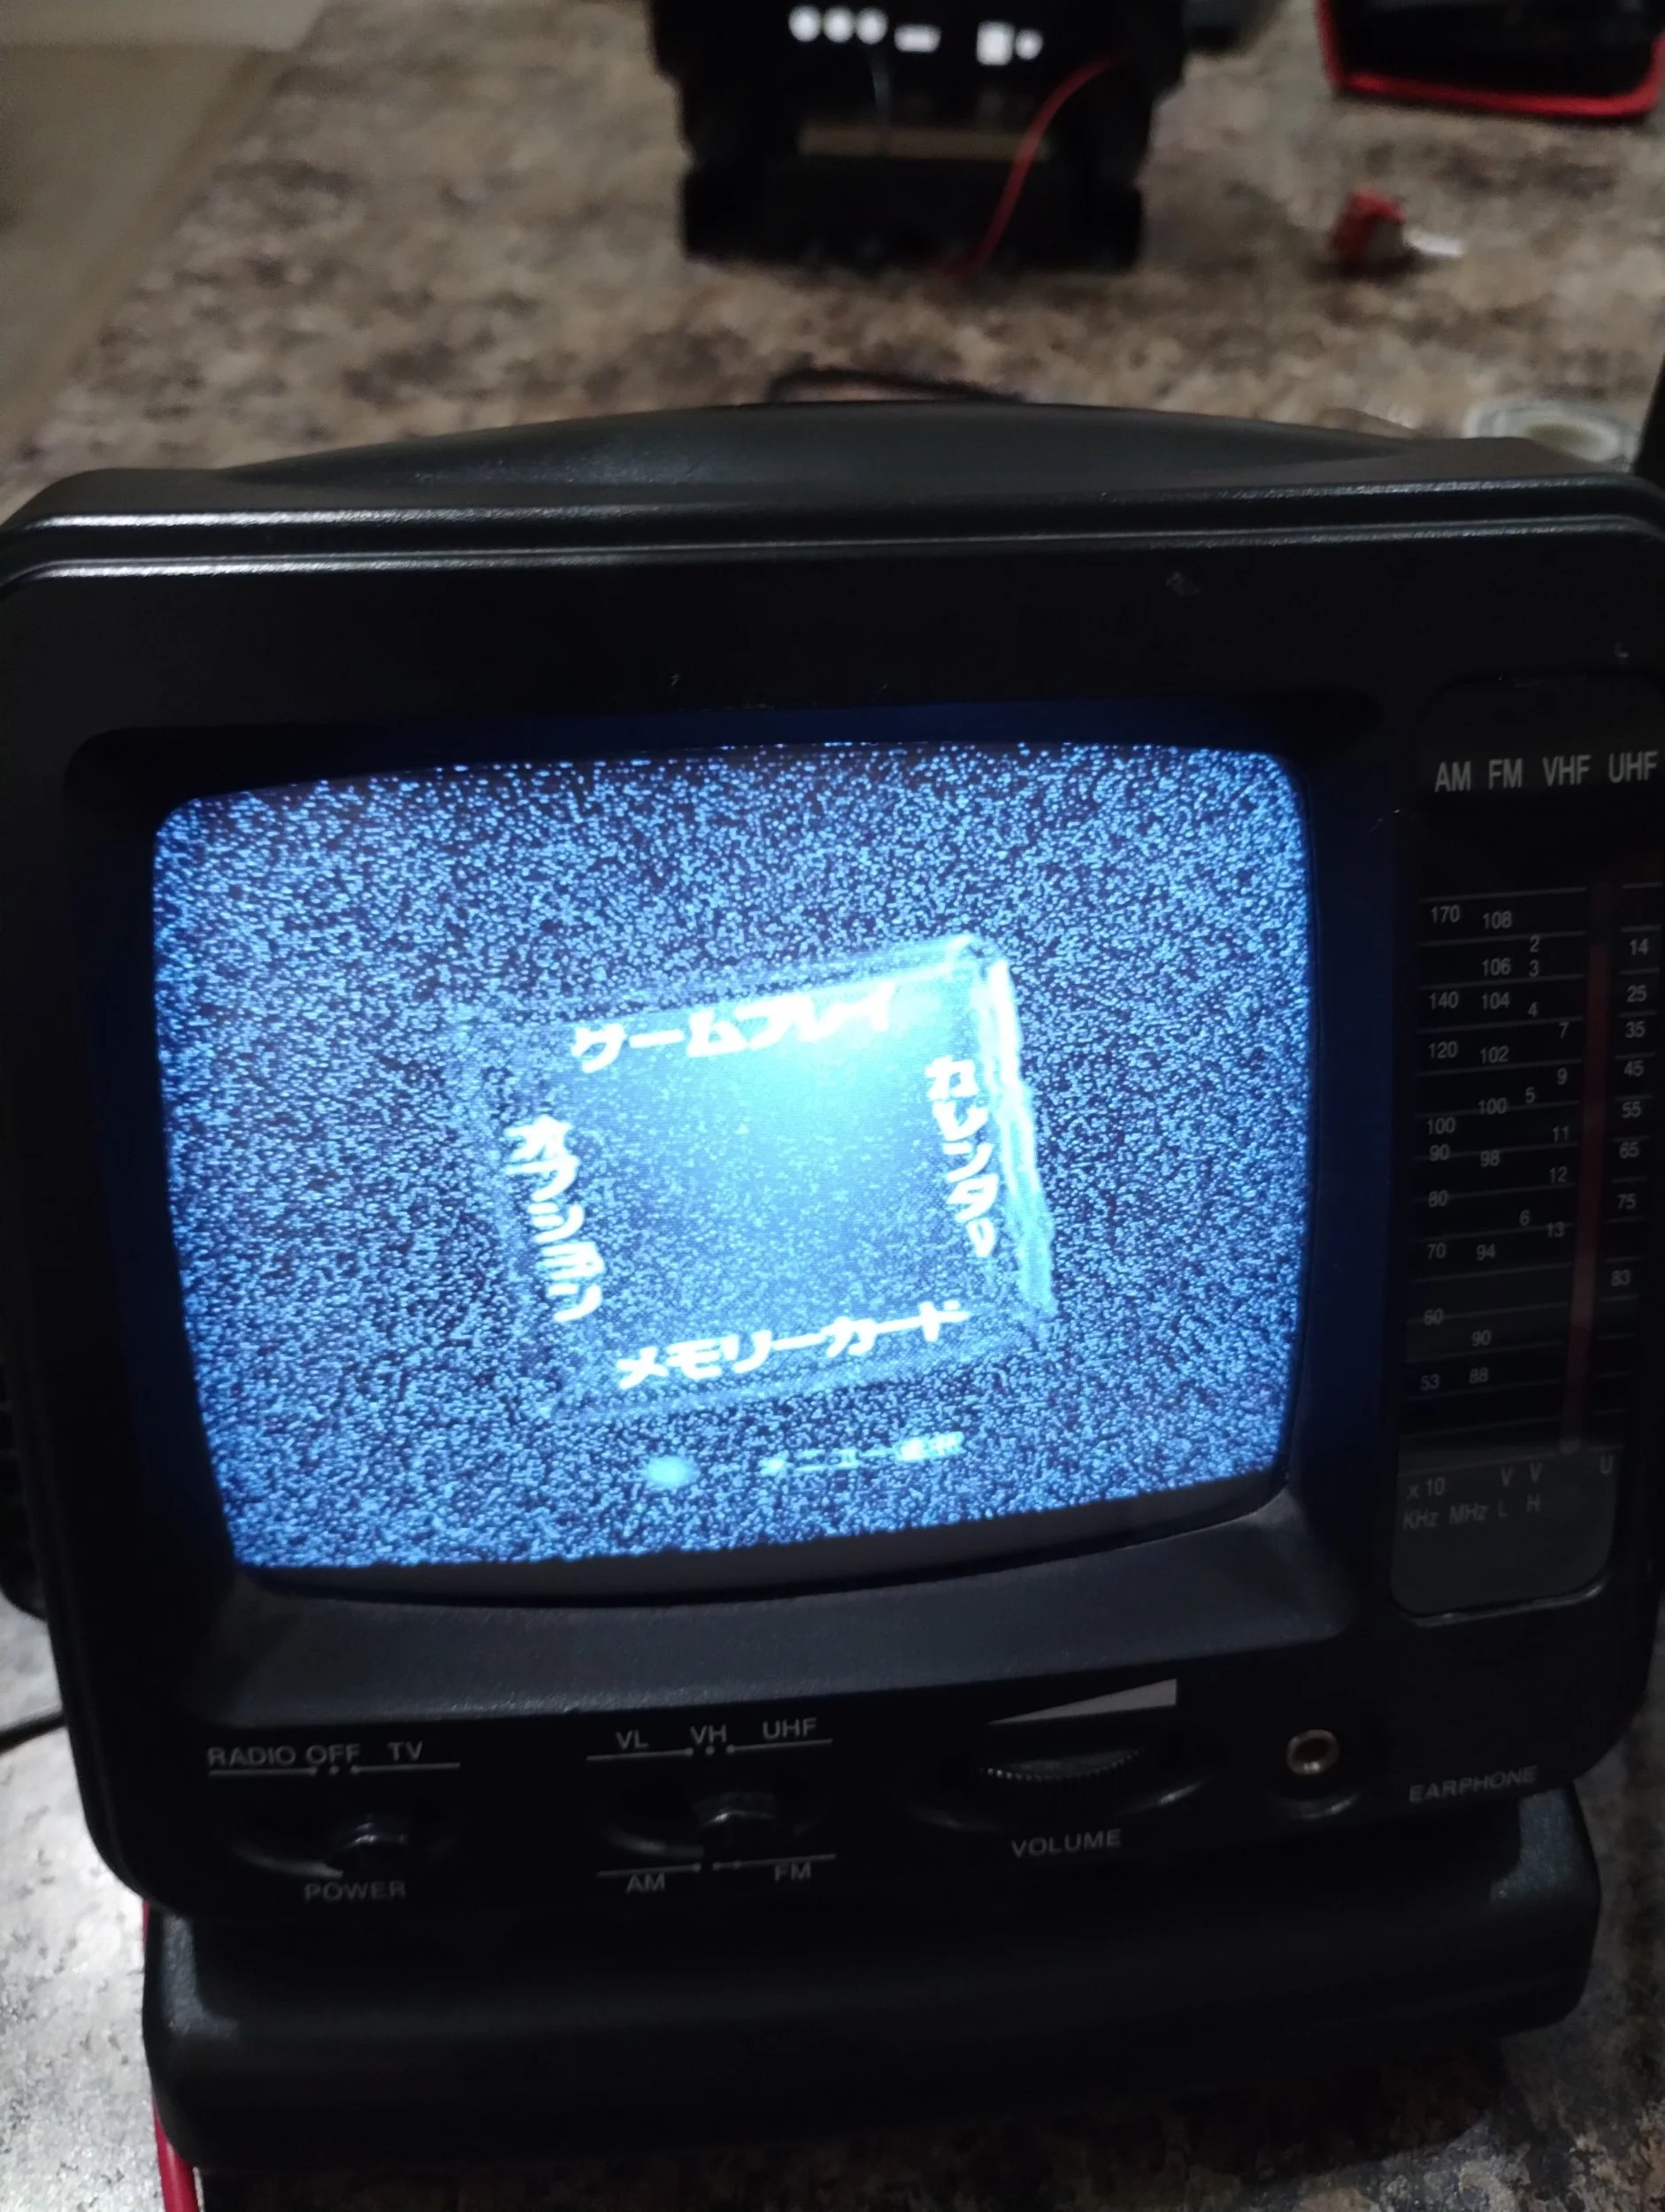
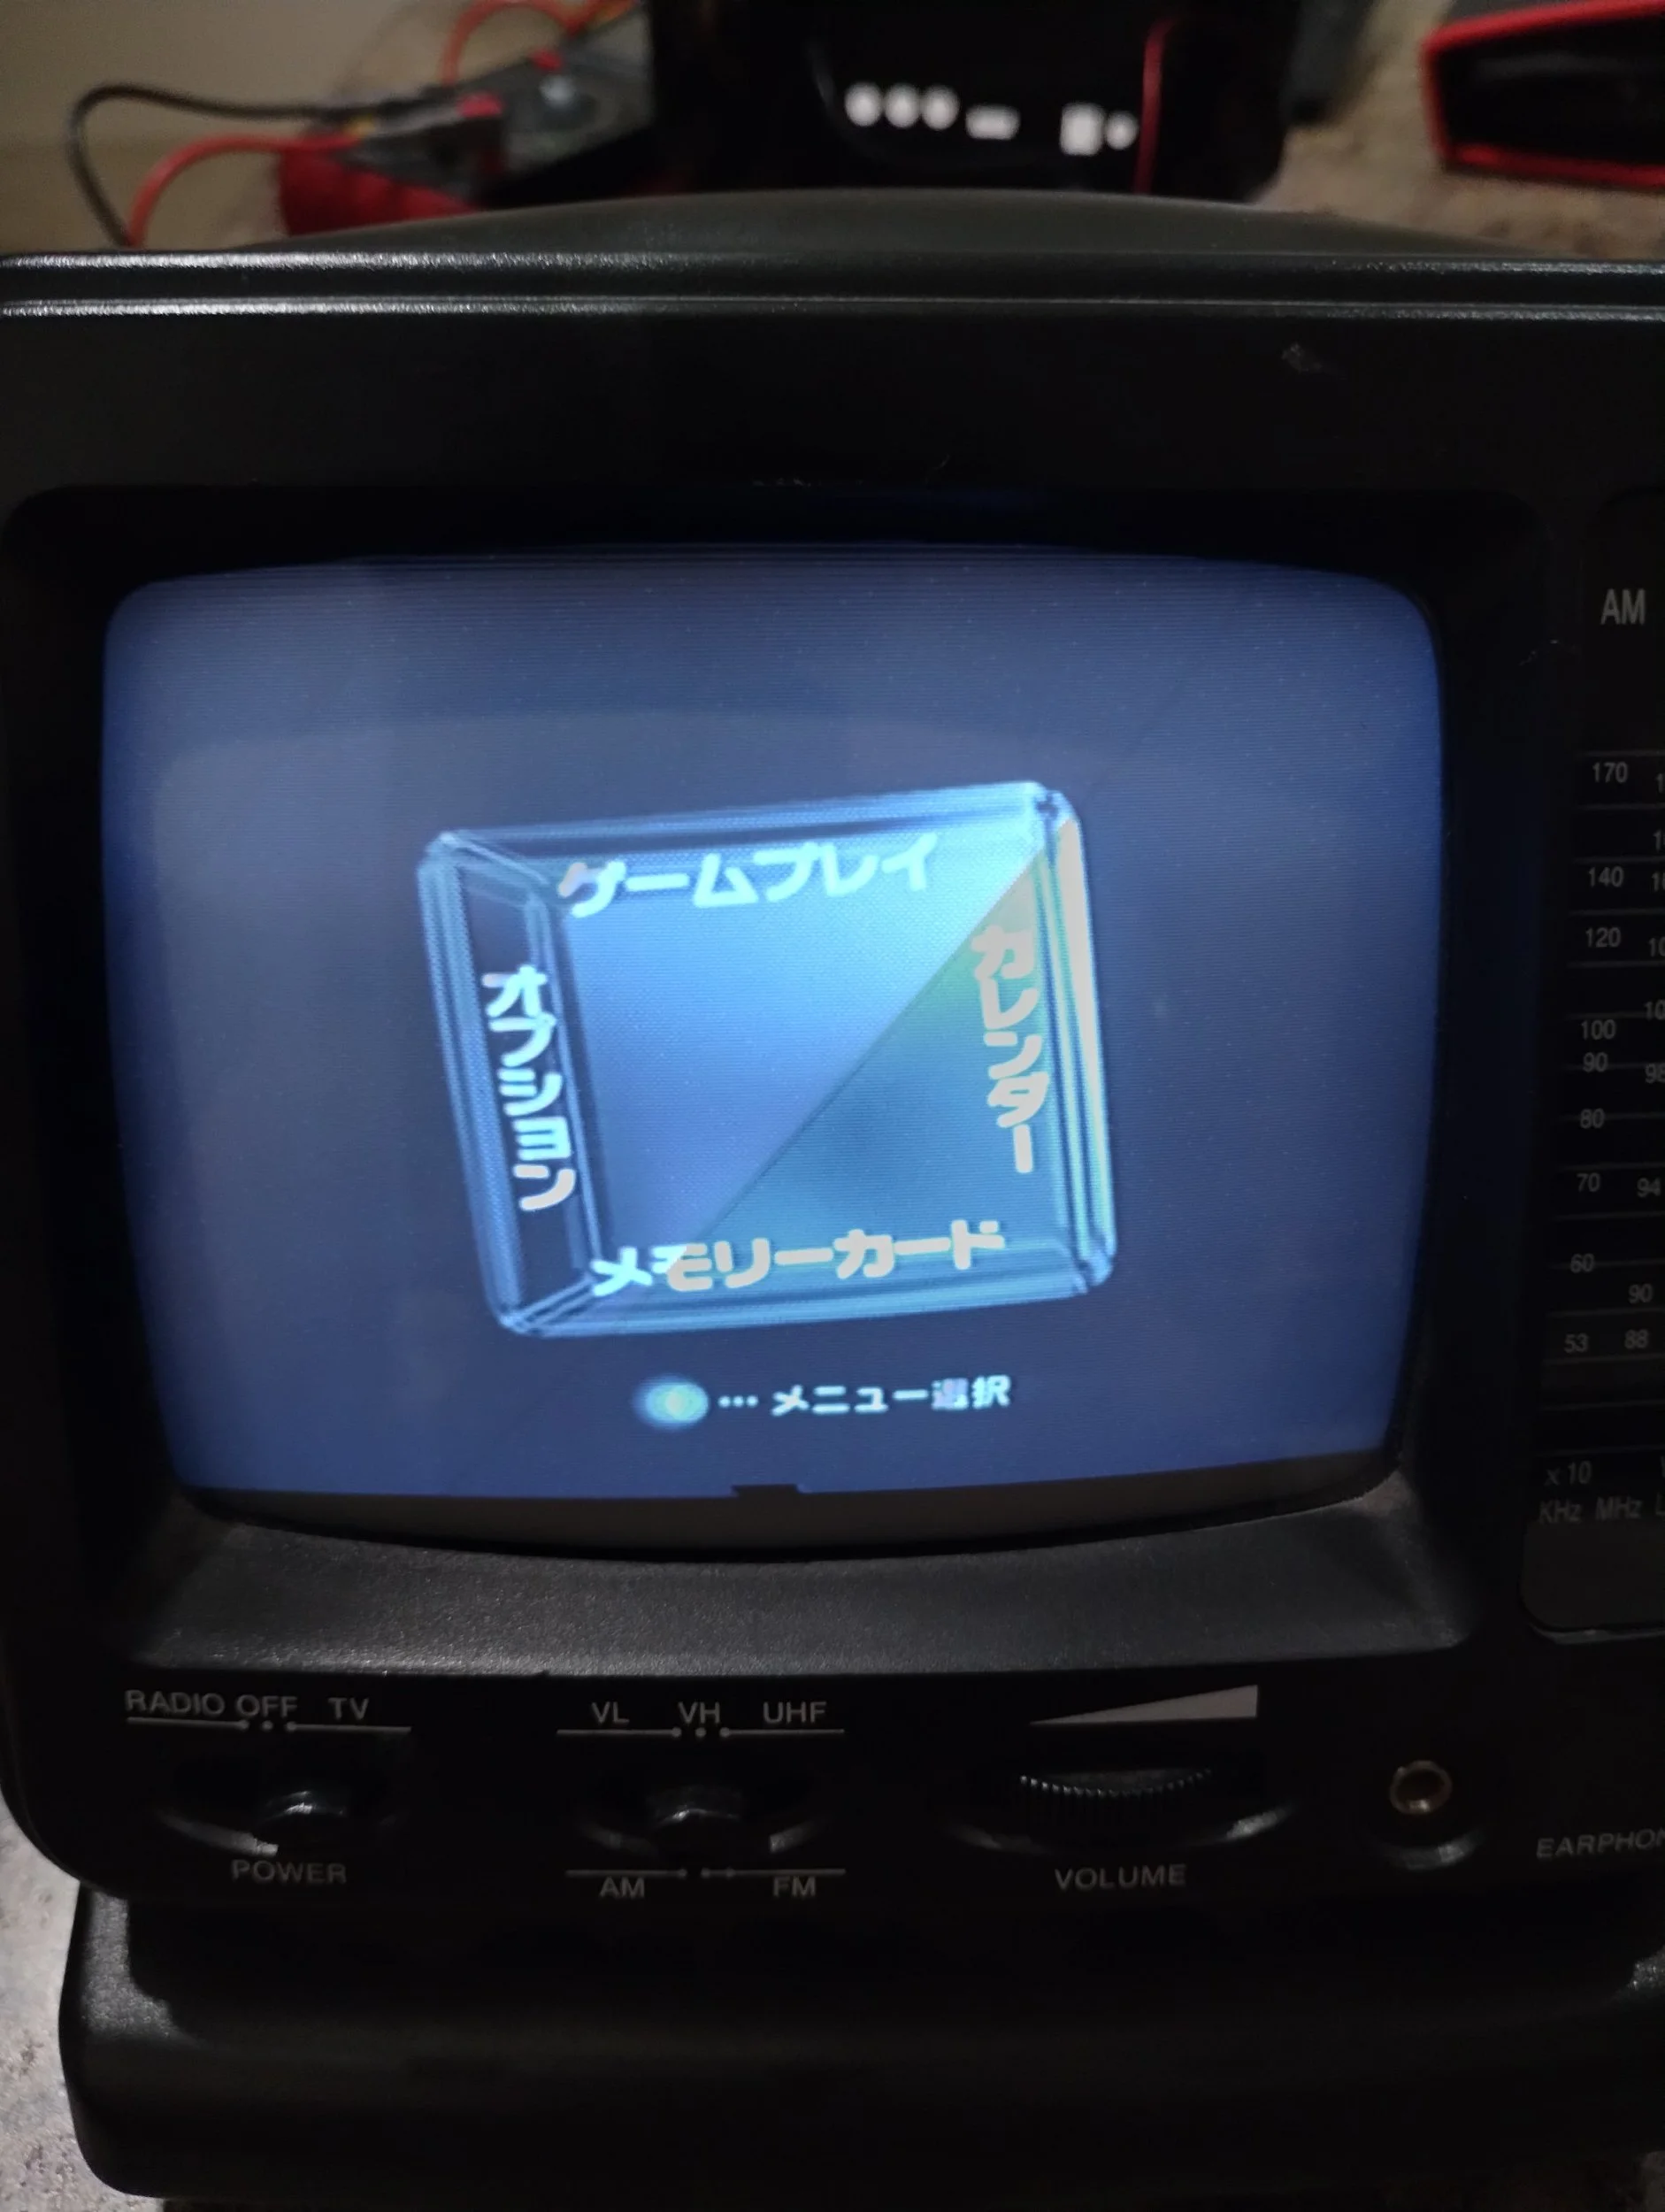
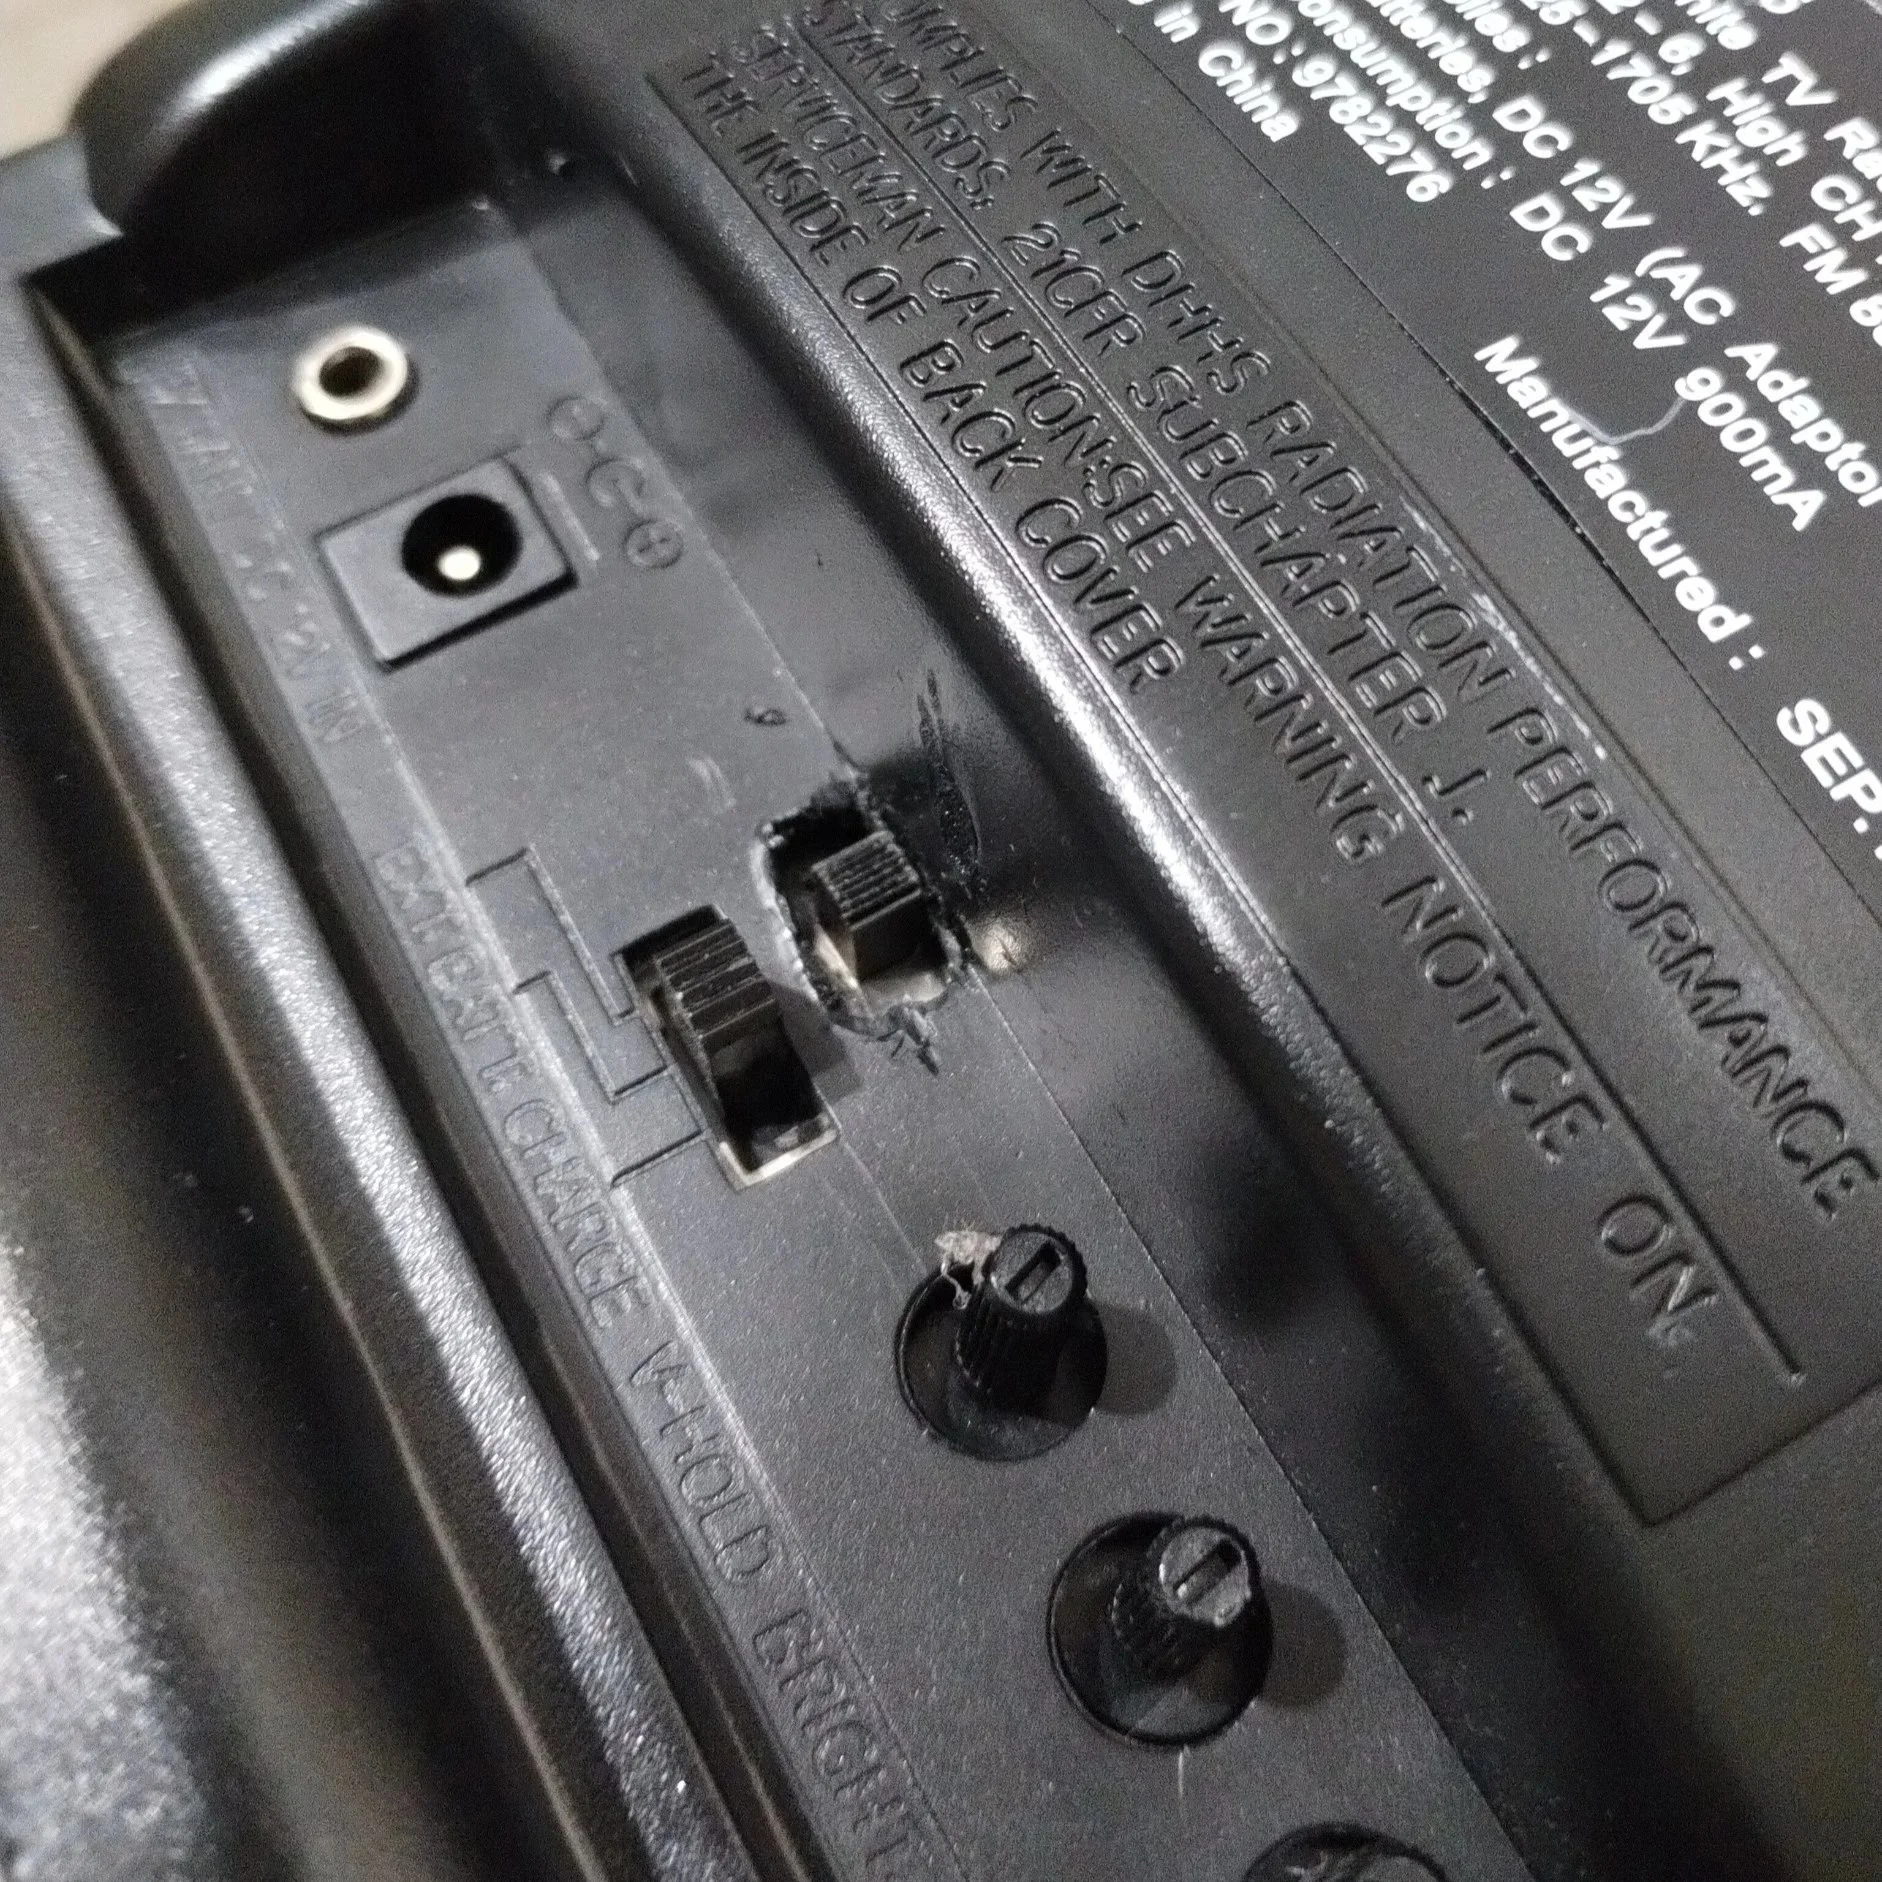
I wanted to keep all functionality of the TV, and keep it OEM-ish looking, so I had to add my own spin to this mod. I took an SPDT switch from the same router I got the fuse holder from, wired the common leg to video output, one leg to pin 5, and the other end to the 3.5mm TS jack. This allows me to use the same input as before, and switch between composite and RF input. I glued the new switch on top of the existing power source switch and cut an appropriate hole in the case. Note that doing it this way removes the ability for audio to pass through. The speaker on this guy has been broken for some time, so that’s something I’ll have to address later anyway.
This probably won’t be my last project with this little display, it’s too neat to leave alone. I’ll probably fix the audio amplifier, or replace the speaker, at which point I’ll need to add a second switch (or a DPDT switch) to allow the RF audio to work as well. I might make a little 18650 cell pack, to replace the 10 C battery requirement. USB-C? Built in Raspberry Pi? Guess we’ll have to see.